Thursday, February 11, 2016

Scout Tee

The Grainline Party continues at my house. Next out is the Scout Tee. Designed for woven fabrics, the pattern describes the top as fitted at the shoulders, falling into a loose shape below the bust.

I'd say that's just how my version turned out.


I wear a lot of tee shirts. As a retiree living in easy, breezy Santa Cruz my style is way over to the casual side of the fashion spectrum. Mostly I wear knit tees, but it's nice to have a few woven options in the closet. Sometimes I want to avoid the cling factor that's usually part of a knit top, and when the weather is hot something loose on top is very nice indeed. Plus there are so many cute woven prints to play with.

I've used McCalls 8050 for a woven tee-style top, and Gertie's Portrait Blouse is another option to consider. Both have cut on sleeves though, and I was interested in trying something with set in sleeves.

McCall's 8050 - probably the oldest me-made item in my wardrobe

Gertie's Portrait Blouse - love that neckline
For this Scout I used a burn-out fabric that's probably some kind of cotton blend. I found it at Crossroads Fabrics in Watsonville. I have a nice piece left over, but I'm not too sure what to do with it. It was a bit of a pain to sew because my needle thunked every time I went from burn-out to solid and back again. I'll see how it holds up in wearing.

Rear view
 I made a size 6, which I think is about right for me. The shoulders look like I wouldn't want to go down a size, right? Speaking of shoulders, I put the sleeves in flat and tried to be as careful as I could, but I still got a bit of puckering. I have another Scout in the pipeline and I think I'll try to reduce a bit of the ease in the sleeve head for that one. I'm kind of excited to see if I can figure out how to do that. I've been pointed to a nice tutorial at Green Apples. Too bad the Stitchy Witch doesn't blog anymore. Hers was one of the first sewing blogs I stumbled over and I picked up a lot of great tips from her.

Side view
Here's a side view so you can see that the tee does, indeed, fall into a loose shape below the bust. I think you'd want to use a pretty light, drapey fabric so the top can move with you a bit. It feels very nice and floaty while wearing; just right for a hot summer day.

Tucked in view
When you want to look a little more button-down, it's also cute tucked in to a skirt or a pair of high-waisted trousers.

My pattern review is on PatternReview.com here.

Tuesday, February 9, 2016

Morris Blazer

Once I finished my plaid flannel Archer I caught a bit of Grainline fever. Jessica and I stopped at Stonemountain in Berkeley on our way back from Sonora and they had a bunch of Morris blazers made up that were cute as all get out. We both decided we had to jump on the train to Morris Town. My friend Martha is working on one too. There must be something in the air.


The pattern recommends fabric with some stretch, either a stretch woven or a stable knit. I used a fairly light weight ponte that I got at Britex years ago. At the time it was the most expensive fabric I'd ever bought, and it's still pretty much at the top of the heap, cost-wise. I thought about using it for a Renfrew, but turns out it's a nice weight for a light jacket. And I could fit the Morris onto my yardage - shazaam!


I made a size 6 for my 35ish inch bust. There isn't much ease in the pattern. You do want some stretch so you can move your arms comfortably.

I look a little Incredible Hulk-ish here
The pattern was easy to follow and everything fit together very nicely. It's a Best Pattern of 2015 on PatternReview.com, so you know it has to be solid. My only moment of confusion related to attaching the bottom hem facing. Luckily, there is a tutorial for this pattern on the Grainline site that clears everything up.

Hem a bit flyaway in the back
If I'm going to be picky, there are two things that bug me a bit about the blazer.

  1. The front facings don't seem to lay super smooth. Might be due to my somewhat droopy fabric, though I've seen others have this issue over on PatternReview
  2. The back flares out a bit more than I like at the hem. Again, my fabric may be partly to blame. Next time I may take the back in along the center seam towards the hem. Note to self: Self, remember to adjust the hem facing if you do!

When I first saw these pictures I was a little tweaked about these two issues. Now that I've worn the blazer a few times my enjoyment of the shape and the comfort is enough to outweigh a quibble or two.

There's this cream and black knit at Hart's. I can't get the idea of a Morris in that knit, but with black lapels out of my mind.

My pattern review is on PatternReview.com here.

Next up, the Grainline scout tee.

Wednesday, February 3, 2016

Sewing School

I just got back from the best weekend ever. My friend Jessica and I did an intensive sewing workshop at the Sonora School of Sewing and Apparel Construction.


Sonora is a cute little gold mining town in the foothills of the Sierra Nevada, about 50 miles from Yosemite National Park.


The town has less than 5,000 residents but there's a lot going on. Maybe because they have thousands of people passing through on their way to view Half Dome. The place was jumping even on a rainy January weekend. We ate at a couple of very nice restaurants and grabbed snacks at the haunted cafe (Sonora Joe's)


and the Candy Vault (delicious salted caramels)


And, of course, there is the sewing school. It was founded in 2011 as a non-profit to teach traditional methods of clothing construction and apparel design to at risk youth in Tuolumne County. How cool is that? They also offer courses to the world at large.

It's well worth a visit, even if you don't have time to take a class. It's housed in an old building a few blocks up N. Washington Street from the heart of downtown. The front of the school offers some very nice garment fabrics with an emphasis on natural fibers.


Antique machines to balance the modern assortment in the classroom
The rear of the room is a pretty, well-lighted teaching space stocked with a variety of sewing machines and sergers, including some industrial models.


Scary industrial machines
Our teacher for the weekend was Megan. She has a degree in fashion design and knows her stuff inside and out. And she is the sweetest, most encouraging person in the world.

Megan, the best sewing teacher in the world
There were only three of us in class, each working on different projects and coming in the door with different interests and experience. Megan managed to jump from person to person very gracefully, keeping us all on track.
I guess you could say there were 3.5 students because Peabody accompanied us
My chosen project was to alter the pattern for my everyday pants; Burdastyle 10-2013 #127 - straight pants. I love these pants and have made them at least six times. They're comfortable and practical, but I wondered if I could tweak the pattern for a less droopy rear.


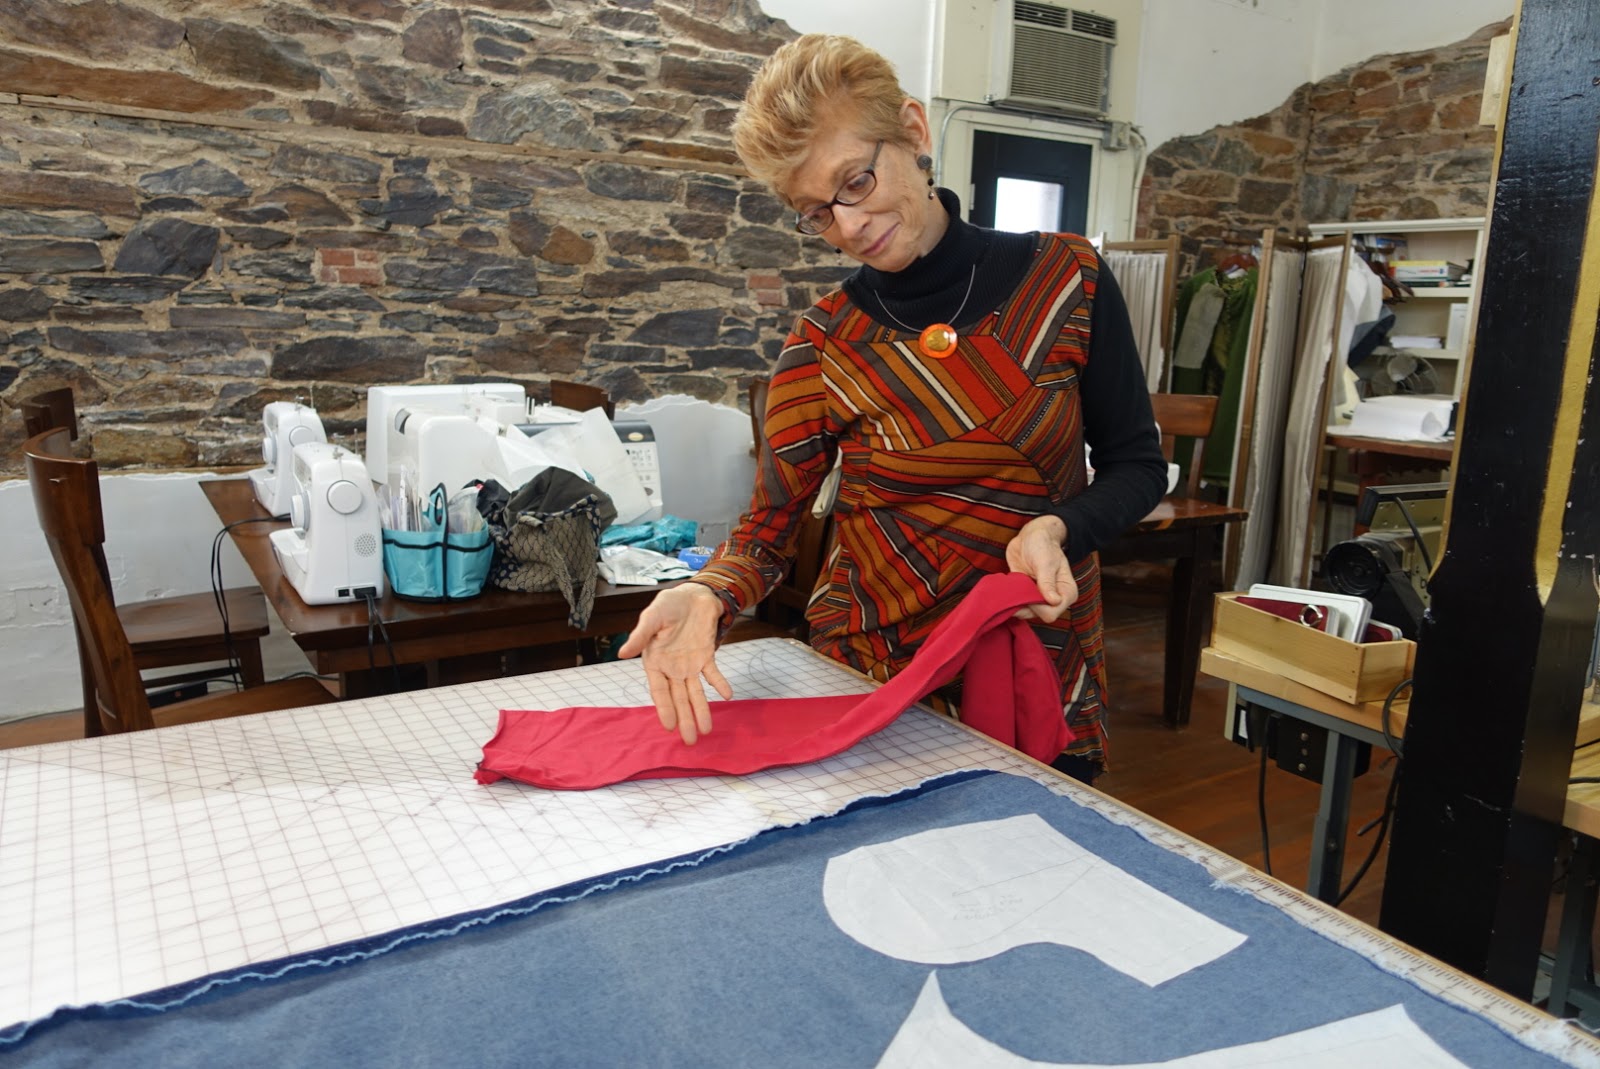
This involved making my first ever by-gosh muslin. I've read about this process but I never would have had the chutzpah to walk through it if I hadn't had Megan doing the pinning and talking me through the alterations.

Tracing those well-loved pants
Jessica wanted to create a pattern from a favorite pair of Ann Klein pants that were almost ready for the scrap heap. Megan helped her trace out the pattern, make and alter the muslin and produce a perfect copy.


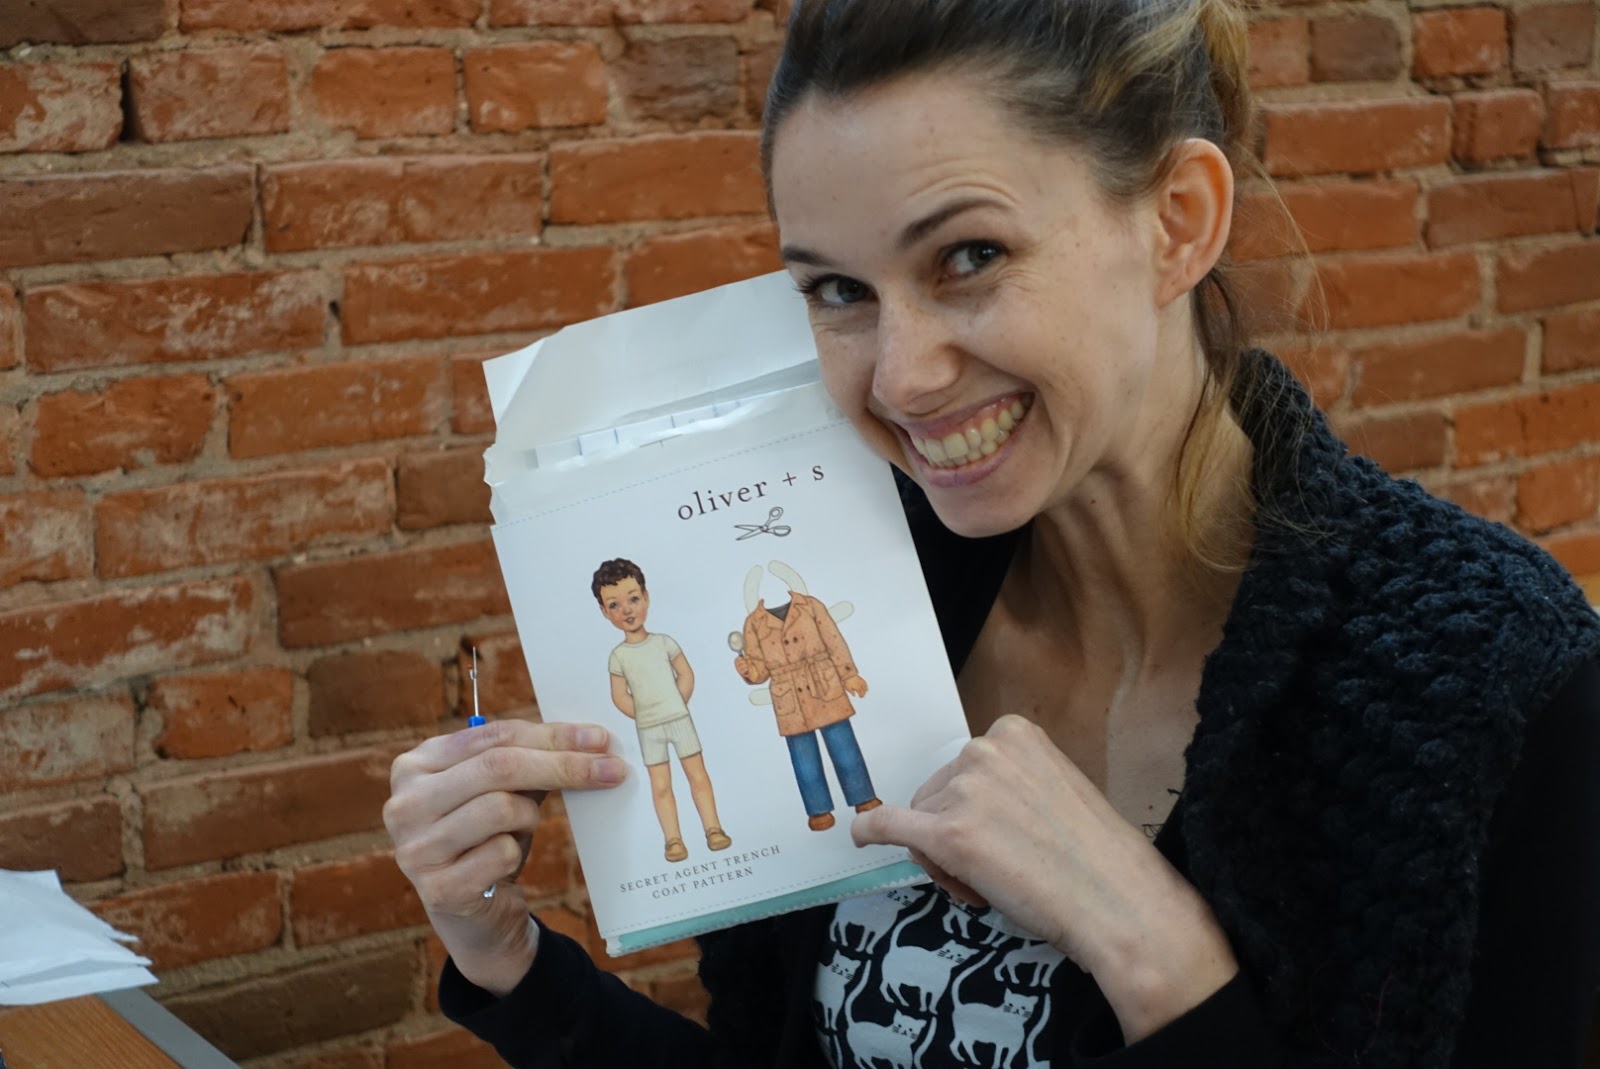
Izzy was our delightful fellow student. She was looking for instruction in setting up a machine and basic sewing skills. She caught on so quick she opted to start a miniature Sherlock Holmes trench coat for her son.

Now that's how to ease those raglan sleeves
Just the buttons left to choose
I can't believe it, but she got from Go to a finished coat in two days! She is the most accurate sewist I've ever met; probably that's her secret. Her son is going to be the best dressed almost-three-year-old in Mariposa County.

A beautifully serged seam
Peabody supervising at the sewing machine
Pants and a knit top, all in two days
Here we are with our finished projects
I highly recommend a sewing weekend at the Sonora School of Sewing. I learned so much! Besides actually doing pattern alterations, I got great tips on pinning, hand sewing and even bobbin winding; things that will make my sewing easier and better every day.

Even the drive up is beautiful. It only took us 3 hours from Santa Cruz. It would be even quicker from the Bay Area.

Car snaps, sorry for the blur
You can stop in Oakdale on the way and treat yourself to a top notch picnic and some locally made Gouda cheese (yum)

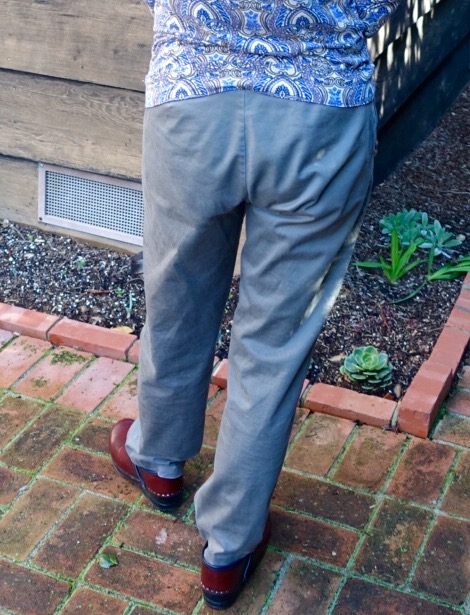
And as far as my altered pants, I think the rear view is much improved!

Before
After
They're still comfy enough to crawl around on the floor to cut out a pattern (we tested this with the muslin) but I think they look a lot sleeker.


More sewing geekery on the alterations on PatternReview.com here.


Thursday, January 28, 2016

Still in Time for Winter

I've been wanting a plaid flannel Archer ever since I made my first Archer almost two years ago. What took me so long?


Partly it was hunting for the right fabric. Most of the flannel in the world looks to be intended for pajamas for tiny tots. I had a heck of a time finding something that didn't involve yellow duckies or mermaids or Jedi.

I finally found this fabric in Irvine while visiting my son last year. He very sweetly took me to his local Jo Anne's and patiently waited while I selected a couple of pieces of flannel and then stood in a ginormous line to have them cut. Twenty-five years ago he would have gotten a Teenage Mutant Ninja Turtle out of the deal. Poor kid, this time all he got was a grateful mother's thanks.

This isn't the best quality flannel, but it is dense and warm as toast.


It took me another year to move from inspiration to finished product because: plaid. I got some extra fabric because I knew I'd have to figure out some pattern matching. I think I got three yards and it was just about enough.


I don't think it ended up too bad. I did the button band, cuffs and back yoke on the bias to save myself some headaches. I kind of knew I should cut the thing out in a single layer to make sure my plaid would line up just right, but I couldn't make myself do it. Sure enough, it was the pieces cut on the fold that screwed me over. They were off by just a squidge, but it was enough to make my eye twitch. I did end up recutting the collar in a single layer so that the pattern matching right by my face was more even.

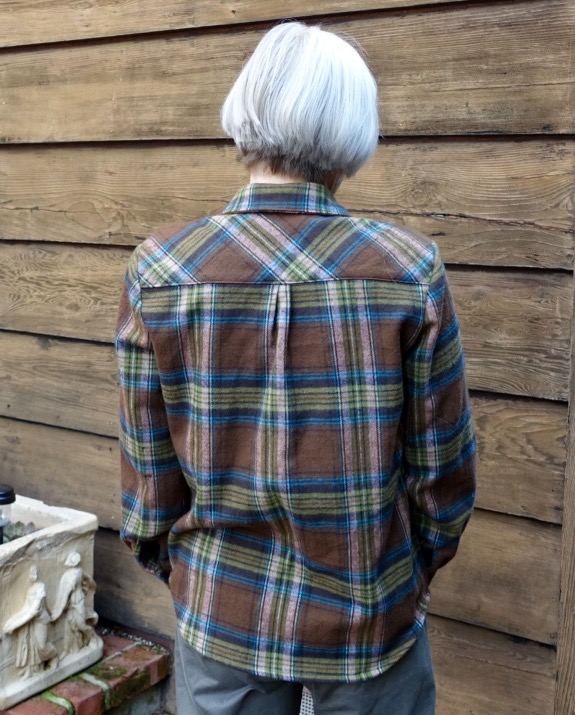
Not the pleat the pattern asked for, but needs must when the devil drives
And I fudged the back by taking two little knife pleats rather than the box pleat the pattern asks for. I hope that makes it a little less obvious that that central line of plaid isn't really quite central after all.

Cuff detail

The only modification I made from Archer #1 was to shorten the sleeves one inch. Now they feel juuust right. I used the angled cuffs again. I think that's such a cute feature.

Practice must really make perfect because I didn't have many issues sewing the shirt up this time around. I did have to re-cut the upper collar. And I did fuse the interfacing to my press cloth rather than the pattern pieces. Twice. And I'm still not sure I understand how to work that bias band on the sleeve slit, but my fabric was so beefy I had trouble jamming the things under the presser foot so maybe I couldn't have done much better. I was really worried about my machine being able to punch through all those layers to put in the button holes, but my Babylock came through like a champ.


So glad I got this made up while we're still slogging through our damp and chilly El Nino winter. Though here in California, all rain is good rain and we'll take what we can get.

My pattern review is on PatterReview.com here.

Tuesday, January 19, 2016

Burdastyle Fitted Blouse

I've been lagging on the sewing front recently. Possibly because I tidied away all my sewing gear for the holidays and I haven't had the energy to haul it all out again. Instead, I've been going through a bout of knitting startitis. Rather than working on the 8 or so UFOs that are patiently waiting for me in the knitting closet, I've cast on a Multnomah, a Featherweight Cardigan and a Honey Cowl. I should know better.

But, my friend Jessica and I are off to a weekend sewing class at the end of the month. That should get me back in gear. We'll be hanging at the Sonora School of Sewing and Apparel Construction in Sonora, CA. I'm picking my projects now!

Anyway, here's my first garment for the new year. It's blouse #104 from the May, 2012 issue of Burdastyle. This must be my favorite issue; I've made four of the patterns, some more than once. These pants are from this issue too - trousers #122 (blogged here).

05-2012-104, front view
Back view
This is a fitted blouse, with darts front and back and a center back seam. I didn't fiddle with the shaping for this first version, but you could pretty much go to town if you wanted to.

Line drawing from Burdastyle
The sleeves are shown rolled up in the magazine fashion shoot, and I failed to notice the fine print saying that they're supposed to be 3/4 length. I must have T. Rex arms, because on me they're more like bracelet length. Next time I'll add an inch or two. I'm also supposed to have made a hidden button band, but I couldn't figure out how the heck they wanted me to put that together. Luckily I had some matching buttons so no harm, no foul.


Here's a wrinkly shot with the shirt un-tucked so you an see how long it is. I think I actually like it this length. Since I'm a shortie, it's almost like a tunic on me. I could imagine wearing it like this with some skinny jeans (note to self; must make some skinny jeans).

I used a cotton print from the stash that I got while visiting my son and his girlfriend in L.A. They very sweetly spent a morning hunting fabric stores with me.


I think this could be my go-to fitted blouse pattern. I've been watching Peggy Sagers videos on Youtube. She has one on collars that has me all fired up to try hacking some shirt patterns. Between this pattern and the Archer, my shirt needs may be covered!

My pattern review is on PatternReview.com here.

Tuesday, December 29, 2015

70's Pants Redux

Ever since I made my Burdastyle 70's pants back in 2014, I've been kind of wanting a pair in denim.


Now they are mine!
70's Pants, #109 from the June, 2012 Burdastyle
I really like the forward seams on these pants, along with the inseam pockets. Once again, I omitted the back pockets and moved the zipper to the center back. I've done enough fly fronts by now that they don't scare me the way they used to, but I kind of like the cleaner lines.

I used some fairly lightweight denim I got at Hart's. I bought two yards, thinking it would surely be enough, but I had to resort to creative pattern placement to squeeze out those super-wide legs.

Side view
Now that I'm fully retired I find I take a more relaxed approach to my various projects. If I get tired or hungry or frustrated or bored, I step back and do something else for a while. You might think this would result in fewer "oh sugar" moments, but instead I've had to wrestle with a factor that I learned about in a project management class decades ago: ramp-up time. When you have to set aside a project before it's completed, ramp up is the time required to step through your process and remember where the heck you were and what the heck you were doing when you put that project down. Skimping on ramp up time is always a mistake. Trust me.

With these pants, for example, I put the pieces aside to make dinner just after finishing the side seams. When I picked them up again, I got so involved in installing the zip before stitching the inner leg seams (brilliant me!) that I forgot to finish the pockets until after everything else was constructed. Doh! Ramp up time failure.
Rear view - I think some of the wrinkles are because  my hands are in my pockets
I hemmed these pretty long; long enough that I have a huge pair of clogs on underneath and they're totally invisible. In my experience, denim keeps shrinking a bit every time you wash it. If I don't hem my denim pants on the long side at the get go, they're too short in a month or so.


My friend Gillian thought this pattern would look nifty made up as a skirt. I can't stop thinking about that, so I'm afraid I'm going to give it a try one day soon.

If you're tempted by the pattern, you can download it from the Burdastyle website here.

My pattern review is on PatternReview.com here.