Friday, December 27, 2019

Toddler Tent

My grandkids are lucky in that they have dozens of cousins. Between the hand-me-downs and the loving relatives, they are not hurting for playthings. So I was having a bit of trouble thinking of the perfect holiday gift for them.

Fortunately, I am a devoted sewing blog reader. I came across this post from Queen of Darts, who had sewn a tent for her daughter. It was super cute, and she kindly included a tutorial. All righty then, my present problem was solved!


I did a little googling around for design ideas I could steal. The tents I perused ranged from 4 to 6 sides. My poor brain got real tired considering the pattern math. There was the whole isosceles triangle thing going on and it's been 55 years since I took any geometry. I decided to keep things as simple as possible and opted for 4 sides.

The Man is a physicist, so he kindly wrote up a formula to help me draft my tent pattern pieces. It had square roots and stuff, and it gave me a pretty good initial fit. I did a bit of draping to refine things.

Porthole window
I didn't get too crazy with embellishments. I put a porthole window in one wall, and added the kids' names on the front. I copied the door design from Queen of Darts. I think it gives the tent a kind of Arabian Nights vibe. She used toggles to hold her door open, which is very cute. Plus it seemed easy for toddler fingers to manipulate.


Hmm. It could use a good press, but I didn't have the time or the gumption to wrassle five yards of canvas around on my ironing board.

I picked up some battery operated fairy lights from the office supply store downtown, just to add a little sparkle.


The finished tent was big enough for a five foot two grandma, so I figured a couple of toddlers would fit just fine.


I drove it down with me to LA and we set it up by the tree on Christmas Eve, after the kids were finally asleep.


The kids noticed it right away when we brought them down for breakfast the next morning.


My friend Kent says all it needs is a sign that says "Adults Keep Out," but with the "K" backwards.


Tuesday, December 10, 2019

Minimalist Wallet

Are you like me? Do you have scores of young men for whom you must produce holiday gifts? Do you want to give them something lovingly hand-made but fear they will find such objects deeply un-cool?

Then this post is pretty much a public service announcement. Take a look at the Elastic Wallet pattern at Thread Theory. It's not a free pattern, but it's the next best thing: only $1.50. I read about this pattern in Barbara Emodi's newsletter and it's like an answer to this Aunt's holiday prayer.


With 15 inches of knitted elastic and a scrap of leather you can sew up a cute little wallet which, at least in my eyes, is stylish enough to be acceptable to my 30-something nephews.


Here's a shot of the wallet in action. The little tab of elastic on the end is to allow you to attach the wallet to a lanyard, or to add a split ring so you can hook on your house key.


I used 2-inch wide black knitted elastic and some scraps of leather. The black leather turned out best because the cut edges of the fawn and gray leather were a different color, so my raggedy cuts looked extra messy. 


My sewing machine did not love this project. I think it objected to the layers of elastic more than to the leather. I did use a leather needle, but a few stitches were skipped. Even so, these little guys seem pretty sturdy.

I turned out eight little wallets yesterday morning. I got faster and neater with each one. Do I have eight nephews? No, I don't. But I'll be happy to have a little stash of these puppies ready for future gift-giving emergencies.

My pattern review is on PatternReview.com here.


Thursday, November 14, 2019

Another Quilt As You Go

Yes, it's another quilt. I actually do have a couple of garments teed up to sew, but I went to a quilt class with my friend Jessica the weekend before last so this project jumped the queue. The class covered a new-to-me quilt-as-you-go technique, and this quilt is the result.


The pattern is based on the Tic-Tak Wall Quilt from Cozy Modern Quilts, by Kim Schaefer. Each of the squares is 10 by 10 inches, so the finished quilt is 50 inches by 60 inches, or what I think of as a foot-of-the-bed quilt. Its mission is to sit folded at the foot of the bed so you can pull it up as a second cover on those especially chilly fall nights.


I used mainly Kaffe Fassett shot cottons for the big squares with a contrasting batik for the little inner squares. It's bright and cheerful, and it came together in about a week. I am a big fan of the quilt-as-you-go stye of quilting. It's quick and it feels less industrial than the more traditional quilting I've done. Instead of cutting out hundreds of little, fiddly pieces and then sewing them together with an accurate 1/4 inch seam, you work with one square at a time. You can change things on the fly; it feels a lot more improvisational. Plus, it's way easier to quilt a 10 inch square than it is to pull 6 feet of quilt through your machine.


We took the class at Back Porch Fabrics in Pacific Grove. This is a great fabric store, if you're ever in the area. They're focused on quilting cottons and they have a very nicely curated selection. They generally have an inspiring gallery of quilts hanging on the walls in the back of the store, which is where the classroom space is.


Here's the design wall with some of our first squares hung to view. Folks were working on just a few styles of blocks; it was fascinating to see how the same design could look so different depending on the fabrics and design choices each person made.

So, here's a down-and-dirty tutorial for those who may be interested in this technique.....

You start by cutting your batting to the size you want your finished blocks to be. For me, that was 10 inches square.


Then you whack your fabrics into roughly sized strips and start to sew your fabric pieces down to the the batting. Above is my central batik square quilted down to one of my batting squares.


Next I laid the first piece of the outer square atop the central square and seamed the pieces together to the batting. Then you flip the new piece to the outside and finger press.


You lay the next piece atop the prior two, sew the seam and flip to the outside again. You keep on going until your square is complete and your piece of batting is totally covered, with at least a one inch overlap of fabric on all sides. This is Greek to me, but one of my classmates said it was like doing English paper piecing, but you were piecing the fabric directly onto the batting.


Once the square is assembled, you press it and do any quilting you want to do, then trim the quilted square to size.


Here's the difference with the technique we learned in this class:


We trimmed the finished squares so that there was a 1/2 inch of fabric showing beyond the batting on all sides. When you sew the squares together, you use that 1/2 inch as seam allowance so you're sewing fabric to fabric and (ideally) the edges of the batting are butted up against each other without being caught in the seams. The idea is to avoid the additional bulk of two layers of batting in the seams.

With the method I've used before, your batting is cut to include a 1/4 inch seam allowance, so that your squares are sewn together with the batting sandwiched into the seam along with the fabric.

With either method, once your quilt top is completed you lay it out smoothly on the quilt backing and just stitch-in-the-ditch to tack the backing to the already-quilted top. Et fins!

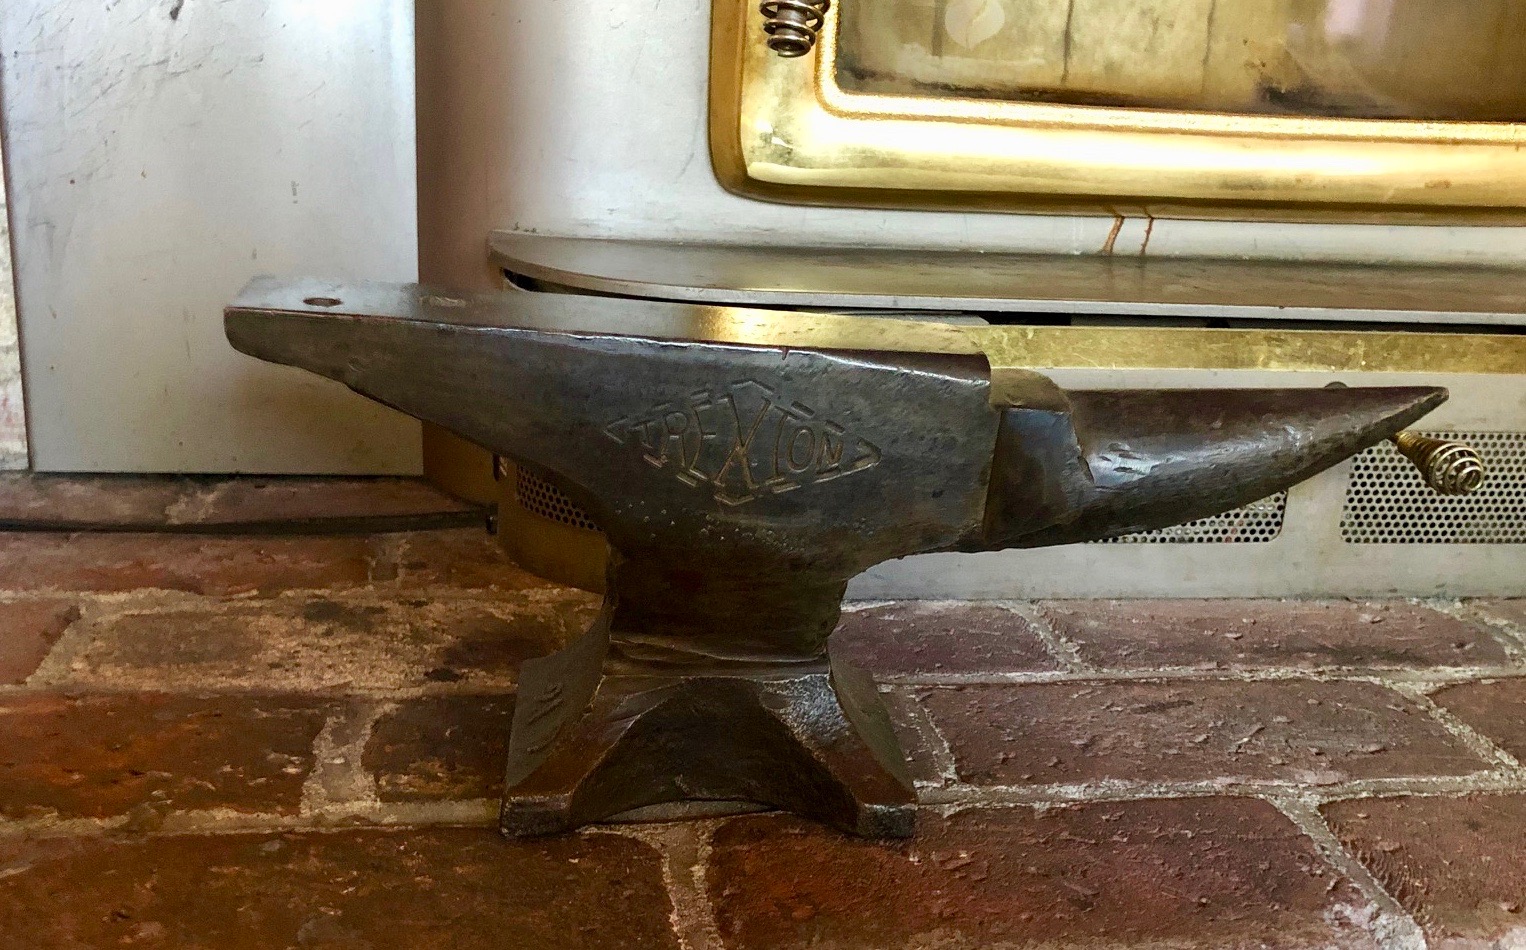
So what's the verdict? I think I prefer the method that includes the batting in the seams. I used that method for my anvil quilt. I really don't notice the seams feeling bulky and I like the idea that the each batting piece is sewn down securely all around the edges. Just so things don't shift around when the quilt is washed and dried.

I have one more foot-of-the-bed quilt in mind, and then our house will be fully covered. I'm planning a dog themed quilt to amuse my grandson.

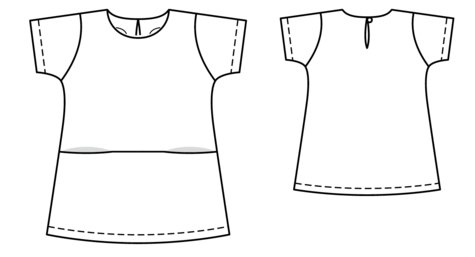
Next up, though, is a birthday dress for me.

Tuesday, September 17, 2019

Undie-palooza

As I promised myself last month, I took a couple of days this week and sat down to make up a passel of undies from Jalie 2568. I used the double brushed poly knits I ordered from Cali Fabrics. So soft, and such great recovery...

I am now 8 pairs of undies richer than I was last week.


Once again, I finished the waist with a self-fabric band and just turned and zig-zagged the leg openings. Last time I cut the waistband strips at 2 inches; this batch I used 1.5 inch strips and they were plenty wide enough.

I love that I don't have to use any fancy elastics for these. They're super comfortable and not a shadow of VPL.


I made two Pineapple undies,


Two blue rose undies


Two autumn flower undies


And two leopard print undies (rohwer!)

I have to say, the sweatshop style of sewing is not my favorite. It makes so much sense with undies, of course, because if you're making them at all you might as well make a bunch.

But by the time I was cutting out my last pair I was darn tired of cutting. Same with the construction piece. In fact, I was tired enough that I sewed one pair together with the gusset on the outside, even though I was sure I'd cracked the code for correct construction.

Now that they're done, though, I love them all. I can hardly wait to do some spring cleaning in my lingerie drawer. My old Victoria's Secrets are headed for the rag bag, and high time too.

My pattern review is on PatternReview.com here.

Edited to add: I got a question on whether the brushed poly is hot to wear. It does have a warm hand feel, I think because of the brushed surface, but I don't find it hot or sweaty to wear. I have a couple tee shirts made from this same fabric and they're also comfortable. Give it a try and see what you think!

Thursday, September 12, 2019

Butterfly Birthday Dress

My granddaughter will be having her first birthday next week. Where has the time flown? She's grown from a tiny munchkin with a thick thatch of black hair that stood straight up to a dimpled charmer who is thiiis close to walking.


And what does a girl need once she starts walking? A dress with pockets, that's what. This is Girl's Dress from the June, 2019 issue of BurdaStyle Magazine, and it delivers some pretty perfect pockets.


Burdastyle 06/2019 #129

See that seam across the front, just below the waistline? Hidden in there are two pockets and I just love the way they're constructed.


Here are the pockets in the actual dress. They're carrying some wooden implements so you can see where they are.


And here are the pattern pieces I traced out. What you do is you fold up that extra length  on the front pattern piece and then stitch up the side of the left pocket, go across the top and then stitch down the side of the right pocket. The edges of the pockets get sewn together with the side seams.


Here's an inside view. It's a little hard to see the stitching lines because it's white thread on white fabric, but I hope you can get the idea.

I used a cotton jersey with a bright butterfly print that my old sewing teacher gifted me when she moved. The pattern is designed for a woven. The only adjustment I made was to omit the neck facings and button closure and sew on a self-fabric neck band instead, just like a tee shirt.

Back view
This was a quick and easy project that I think turned out pretty darn cute. I like it so much that I'm currently cruising adult knit dress patterns so I can try to add this pocket feature to a dress for me-me-me. I'll let you know how that works out.

My pattern review is on PatternReview.com here.

Monday, September 9, 2019

Anvil Quilt Completed!

I've been thinking about making this quilt for The Man for a few months. What could provide better impetus than his birthday, which is in September. Strictly speaking, his birthday was last week, but better late than never, am I right?


You may not know this about him, but The Man is an anvil fan with a small but select collection of early American anvils. Luckily he likes cute, little anvils. Like this one by our fireplace, which weighs 22 pounds.


His friend, Bill, is also an anvil collector, but he likes the two ton numbers. They're a bit more challenging to work into the decor.

This quilt started off as kind of a joke, but when you think about it, anvils aren't a bad subject for appliqué. They have strong, simple silhouettes and there's more variety in shape than you might imagine. The Man, of course, has what is THE book on American Anvils. More than 500 pages, all about anvils. I used the illustrations to trace my anvil patterns, so I can assure you that they are all anatomically correct.


This quilt is my second project based on the class, Cute Quilt-As-You-Go Applique Monsters, which you can find on Blueprint. My first rodeo with these techniques was with the Under the Sea quilt I made for my Granddaughter. The process is a bit down-and-dirty but it's also really fun and you can go from artistic vision to finished quilt lickety-split.

How about a few anvil close-ups? You know you want to...


Above is the classic one-horned anvil we all know and love. If you ask a kindergartner to draw an anvil, they'll probably come up with something like this.


This anvil is a bit different; it's a farrier's anvil. One horn, one drop and no table. Apparently farriers needed specialized tools to take care of those horse shoes.

Since we're talking about horns, here is a double-horned anvil.


This anvil doesn't have any horns at all. It's called a colonial or sawmakers anvil, and its job is to give a nice, flat surface for tensioning those saw blades.


Here we have an older style of anvil. It's called a bick iron. You could carry this one with you while traveling, then hammer the spiky part into a log and, voila! You could get to making horse shoes with a moment's notice


This is an arial view of the working surface of a single-horned anvil. That square hole on the blunt end is called a hardie hole and the round one is a pritchell. They're used for bending pieces of metal.


Here's an arial of The Man's Trenton anvil, so you can see the hardie and pritchell in real life.

If you've read this far, you now know more about anvils than 96% of your friends and family.

I used the left over fabric from this project to slap together the quilt back. I do like the idea of using my scraps but I keep forgetting that piecing the back is kind of like piecing a whole 'nother quilt.


I didn't have quite enough fabric to make the 6 inch wide outer border that I'd envisioned, so I did a double border with a mottled black. I had a heck of a time figuring out how to do a double border with quilt-as-you-go; my Blueprint class didn't cover that trick. While googling somewhat desperately I came across this tutorial, and it saved my bacon. Worked perfectly and was very easy to do.


Late fall tends to be heat wave season here on the Central Coast, so we probably won't be using this quilt for movie snuggling for another few months, but I'm sure it will come in handy once the days grow shorter and grayer.

Next up, a birthday dress for my granddaughter and then some more undies for me.

Saturday, August 10, 2019

Best Undies Ever

This week I fulfilled a promise I made myself back in January. I had a root around the fabric closet to dig up knit scraps to make myself some undies. I've been enjoying the three pairs I made myself at the beginning of the year, and my aging Victoria's Secret supply is getting sadder looking with every wash.


I used Jalie 2568 again, because it's just such a fabulous pattern. Super straightforward, suitable for scraps of whatever stretchy knit you have laying about, and the leg edges are finished by turning under and doing a simple zig-zag stitch.

This time I tried a tip given to me by one of the brilliant and generous sewing ladies on PatternReview.com. I tried finishing the waist with a self-fabric band. Oh. My. God. It worked great and it was so easy to do.


I cut a 2-inch wide strip of fabric and applied it just the way you'd finish the neck of a tee shirt. I just did a one-to-one ratio because the negative ease on these undies means I don't need any extra oomph in the waist band to hold things in place. So I didn't even have to do any stretching while sewing to make things fit. Easy Peasy Lemon Squeezy.

This waist band revelation means that I didn't have to use any lingerie elastics whatsoever in the making of these undies. They are totally scraptastic and therefore totally free.


For two pairs I used double brushed poly jersey scraps. This fabric is, in my opinion, ideal. Light weight, soft and comfortable, and easy to work with.

I love these undies so much that I just ordered 5 yards of double brushed poly jersey from Cali Fabrics so I can make more. Doh! So much for the free undies idea. But since the fabric I ordered is 60 inches wide and it was, like, 6 bucks a yard, I will have undies to spare for the rest of my life. Not bad for $43.82, including shipping.

I also love the double brushed poly for bras. In fact, I have three Hyacinth bras cut out upstairs, just waiting to be sewn.

Now, if only I could figure out a way to make bras without expensive lingerie elastics....

My pattern review is on PatternReview.com here.

Tuesday, July 16, 2019

Kid Sewing With An Actual Kid

I am lucky enough to have a niece who is interested in sewing and who was scheduled to visit us here on the Central Coast for the 4th of July. She was only planning on being in town for 3 days and we had a lot of activities to fit in; the Boardwalk, Carmel, dog walks.... Time would be tight. Fortunately, she shopped in advance and brought 2 yards of a very cute blue floral jersey for us to work with. And double fortunately, I have 7 years of BurdaStyle magazines upstairs so I was pretty sure we'd be able to find a reasonable pattern to hand.

And here's the proof!

Burdastyle 05-2012-143
My niece didn't just come with the fabric, she came with a creative vision.


She drew a couple of quick sketches to get us going. She was after something with a V or wrap neckline and a sash with a bow. Sleeves were optional. Ideally we would have included a scalloped ruffle on the skirt, but time and fabric constraints worked against us on that front.

After reviewing a ton of Burdastyles, she decided that "Girl's Dress" from BurdaStyle's May, 2012 issue ticked her boxes. The pattern is designed for a woven and the largest available size was a 6, but as a jumping-off point it worked well.


Did I mention that Isabella is 8 and that she had never used a sewing machine before? Not a problem for her though. Within 10 minutes she'd threaded the machine and was practicing sewing accurate seams. She also batted out a few decorative stitches.

We really only had a few hours to sew, so Isabella wasn't able to do the hemming and final finishing, but she did have time to stitch up the bodice and skirt seams and complete the bow (which was our primary design element). She even included some decorative stitching and a button, setting that bow off to perfection.

Front view on the hanger

Back view

Bow closeup, with button and decorative stitching
I did the final hemming and mailed the dress off to her in Chicago with my fingers crossed, hoping it would fit her the way she wanted it to.


And it does! She totally rocks it.

I wasn't sure that an 8-year-old would be ready to tackle a project like this, but Isabella did great. Besides the creative vision thing, she took a lot of care with the process. She was willing to go slow to do well, so her seams were accurate, and she was super careful to trim all her threads neatly. She was also curious about the technical side of things. We watched some videos about how the sewing machine works and, thanks to a thread tangle, we had a chance to take the machine apart to clean out the bobbin area. We had a blast. If you ever have a chance to sew with a kid, grab it.

My pattern review is on PatternReview.com here.