Friday, June 24, 2022

Closet Core Pietra Pants

 This is the last item I finished for my resort wear wardrobe: the Pietra Pants by Closet Core.


I'm usually too much of a cheapskate to fork over the big bucks for indie patterns, but I've been admiring those pockets for quite some time. My sewing bud, Jessica, bought the pattern the same time I did. We egged each other on.

Since this is my first Closet Core pattern I wasn't too sure about sizing. I figured I'd pick the size based on my hips and let the waist take care of itself. My waist is a size or two bigger, but, hey, elastic.

I made a "wearable muslin" of the shorts version to test out my plan and it worked great. Very wearable, in fact. I was still a bit uncertain because the three views of this pattern have different pattern pieces for the legs, and the hip/leg on the shorts was looser than on these slim cut pants. I decided to trust the designer to make the hip ease work out across views. And she did! The hips are a closer fit with these pants, but not too close.


Here's the rear view, which I think looks pretty good for an elastic waist pant. 


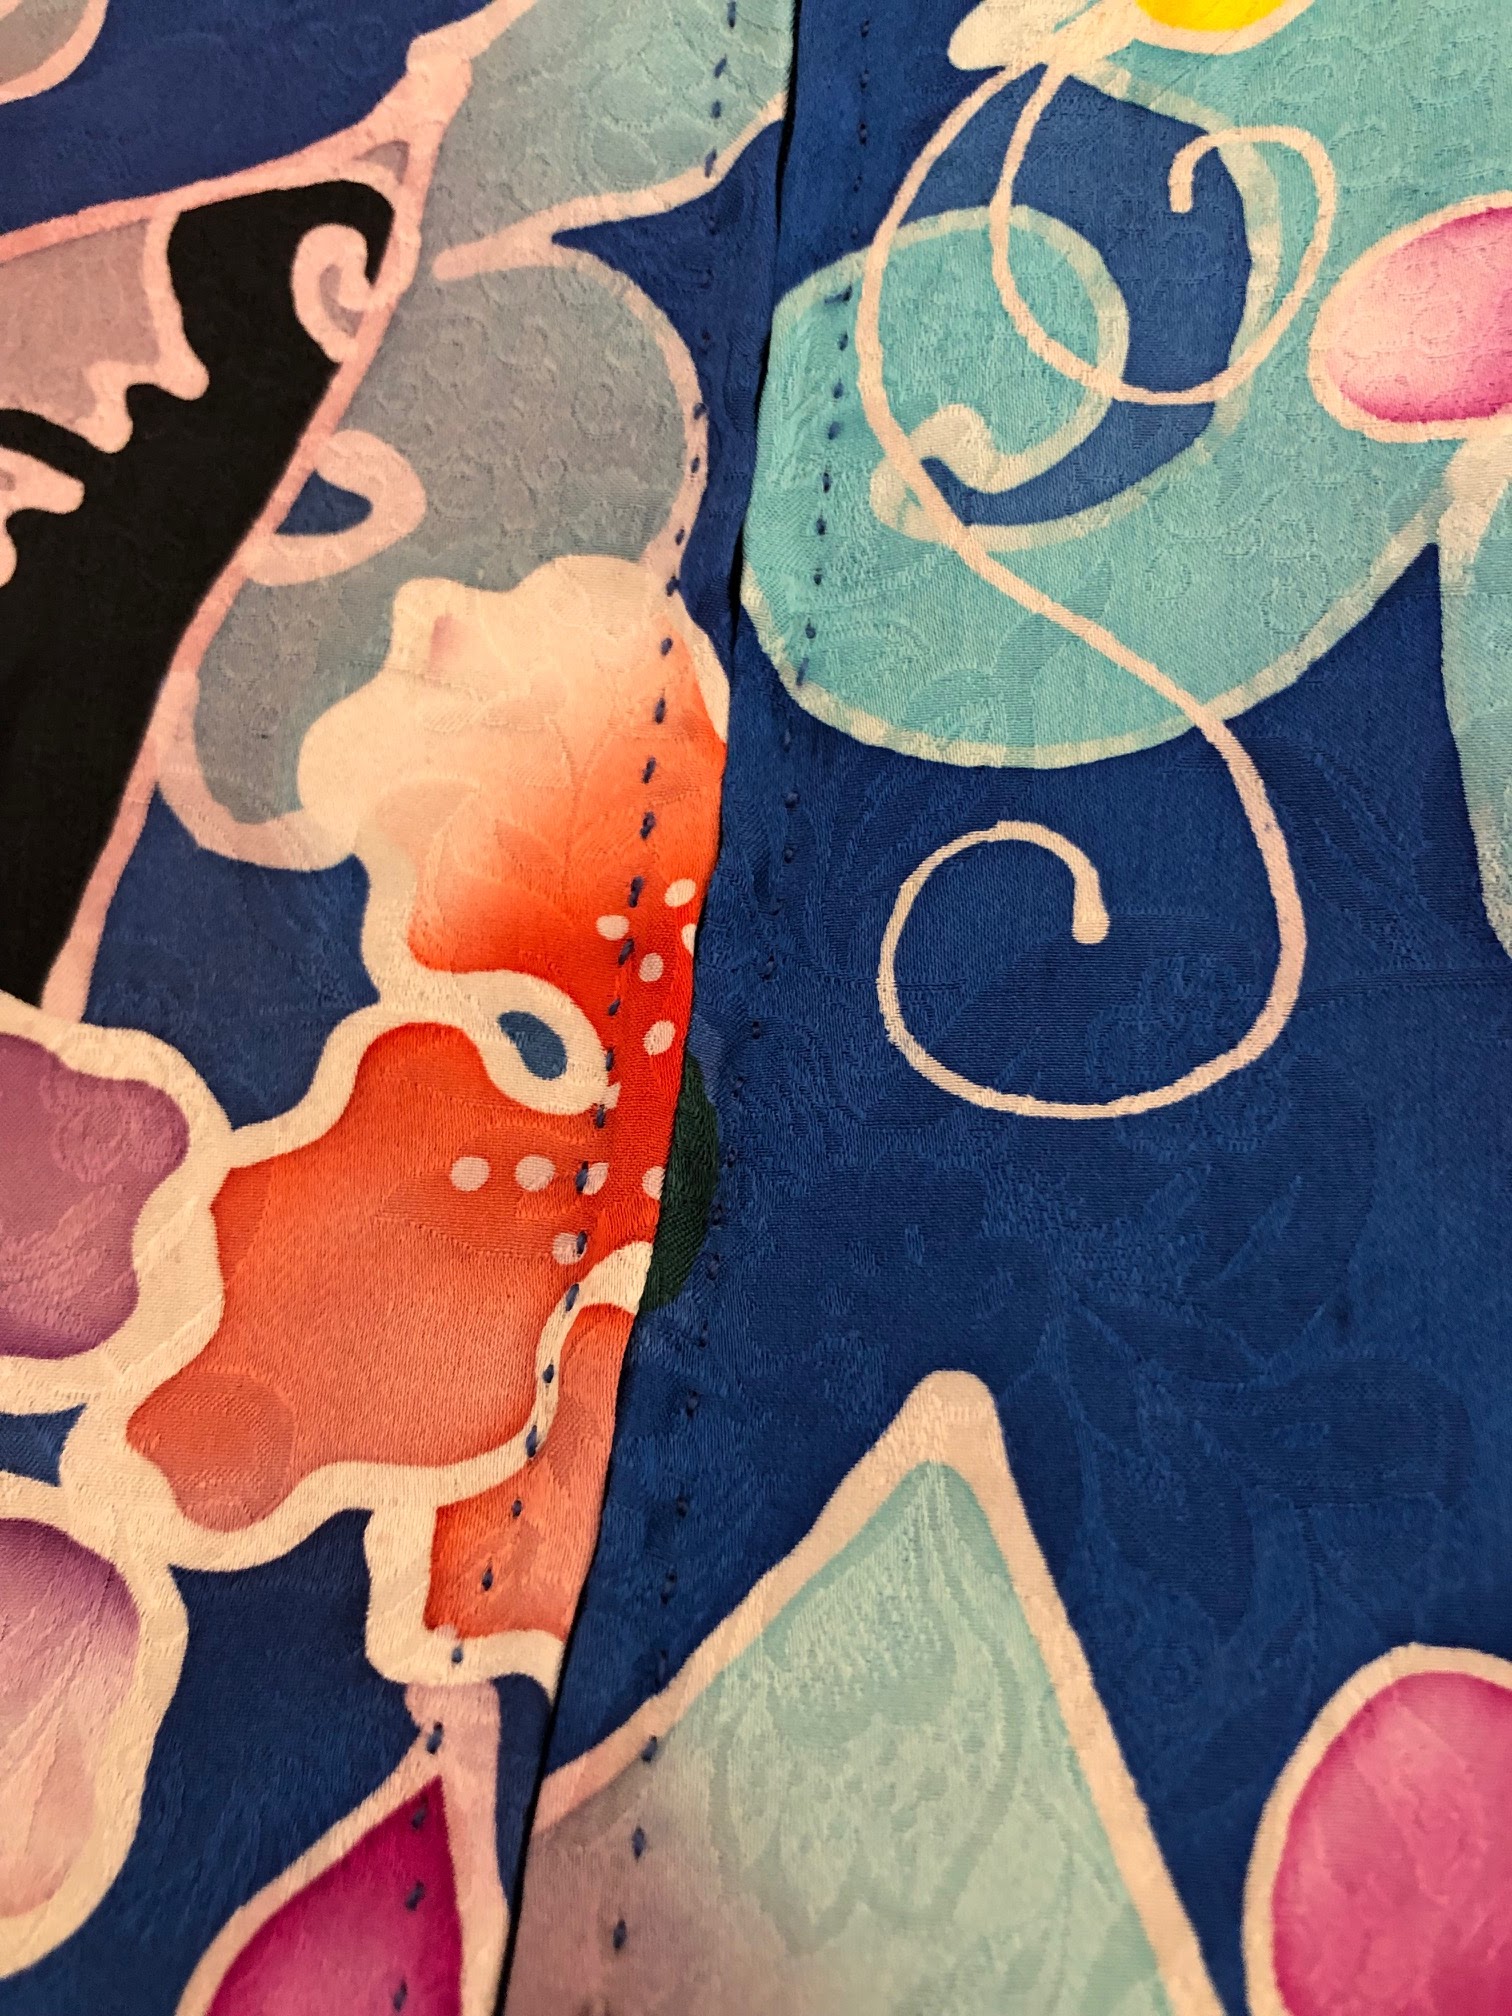
I used a middle weight linen from the fabrics-store.com in the color Chocolate. I just love their write-ups, so let me share the description of Chocolate:

Warmth permeates Rembrandt van Rijn's paintings as golden, syrupy candlelight falls and disappears into velvet brown shadows. CHOCOLATE linen mirrors the earthy and enveloping darkness in Rembrandt's paintings, which swarms around the light and gives it torch lit radiance.

Mmmm. Good enough to eat. 


Here's a picture with my top tucked up to show the flat front. I've read that some folks feel the high-waist is too high, but for me it hits just where I like it for wearing with cropped tops. 

I wore these with my willow green oversize linen top for cocktails and chicken marsala overlooking the lake and I felt a little bit fancy and cool as a cucumber.

My pattern review is at PatternReview.com here.

Itch to Stitch Lemont Top

I had a small explosion of productivity in the sewing room earlier this month. We were getting ready for a trip up to Lake Tahoe and I figured I'd make myself a resort wear wardrobe. The first item was the Lacey dress from StyleArc and the second was the Lemont top from Itch to Stitch. Quite coincidentally, both patterns share a construction style that was, to me, unusual.


Both patterns have princess seams coming from the shoulder and for both the side-front, the side-back and the sleeve are one integrated piece. Which means you could have a ton of fun with color blocking or stripe manipulation. I'm too much of a stick-in-the-mud for that though.


The Lamont is like a woven tee with a twist. Those sleeves have a bit of a "statement" vibe without going too far and I like the shape of the neckline. 


I'm not usually a statement person, so I wanted the sleeves to be more on the subtle side. I used a drapey rayon, even though rayon is one of my least favorite fabrics to sew. Second only to tencel, which I find even more slippery and fray-ie. Rayon is limper, though, so maybe it's even worse than tencel.


Anyway, the drafting of Itch to Stitch patterns is so clean and the instructions are so good that I hardly had time to hate my rayon before I was done.

The only change I made to the pattern was to sub out pleats for the gathers at the shoulders. I feel that pleats are a touch more staid, as befits a woman of my age. 


The top is very comfortable to wear. It works with shorts to go casual and with black linen pants to get a bit more dressy. That's how I wore it for cocktails and a steak dinner, looking out over Late Tahoe at sunset. 

My pattern review is at PatternReview.com here.

StyleArc Lacey Dress

 This is another late night online shopping project. The web offered me a two-for-one deal on the Lacey dress, from StyleArc. I could buy the adult version and get the child version for free. I had an immediate vision of me and my granddaughter wearing matching dresses and I couldn't stop myself. 


The Lacey dress is described thusly: "Easy slip-on dress with an extended shoulder, square line bodice and slightly gathered skirt." I'm not sure what they mean by square line bodice. 


Well, I guess it does look pretty squared-off in the line drawing. I think of it as princess seamed. It's kind of an interesting construction because the side-front, side-back and sleeves are one integrated piece. Same kind of idea as the Itch to Stitch Lemont top, which I was sewing up at just about the same time. 

The fit is loose and breezy, which was what I was after. We've been having a hot spell here on the Central Coast, and it's still June. I'm expecting some oppressive heat as the summer moves along. 

Originally I was thinking of using a novelty print to amuse the grandchildren: dinosaurs or pirate ships or something. But I decided I don't always want to stand out as the wacky grandma so instead I ended up with a cotton sateen designed to be quilt backing. Somehow I don't have many light colored items in my wardrobe and this abstract square print struck me as summery.

This was a quick and easy sew and I look forward to lazing around the yard in it over the long, hot summer.


My pattern review is on PatternReview.com here.

Sunday, May 29, 2022

Garden Sewing

We have an enormous hedge along our front walkway. When I say enormous, I mean at least 30 feet tall. Juniper, I think. It's been there forever. Probably used to be a cute little hedge back in the 1970s, but it's been encroaching on the walkway, so we asked a gardener guy to whack it back for us. 

Long story short, when he was done it looked like this:

Pretty scary, right? It still looks OK on our neighbor's side and we don't even want to imagine how much it would cost to take it out and put up a fence or something in its place. So we came up with a plan to disguise the spooky underside.

We went to HomeDepot and got some 8x4 foot redwood fence panels. I basically just hung them from the branches of the ghost hedge. Who knows how long it will last, but with a few pots of succulents in front, I think it's an improvement.

I decided I wanted to think of something to break up that expanse of lattice though. How about some of those hanging fabric planters, eh?

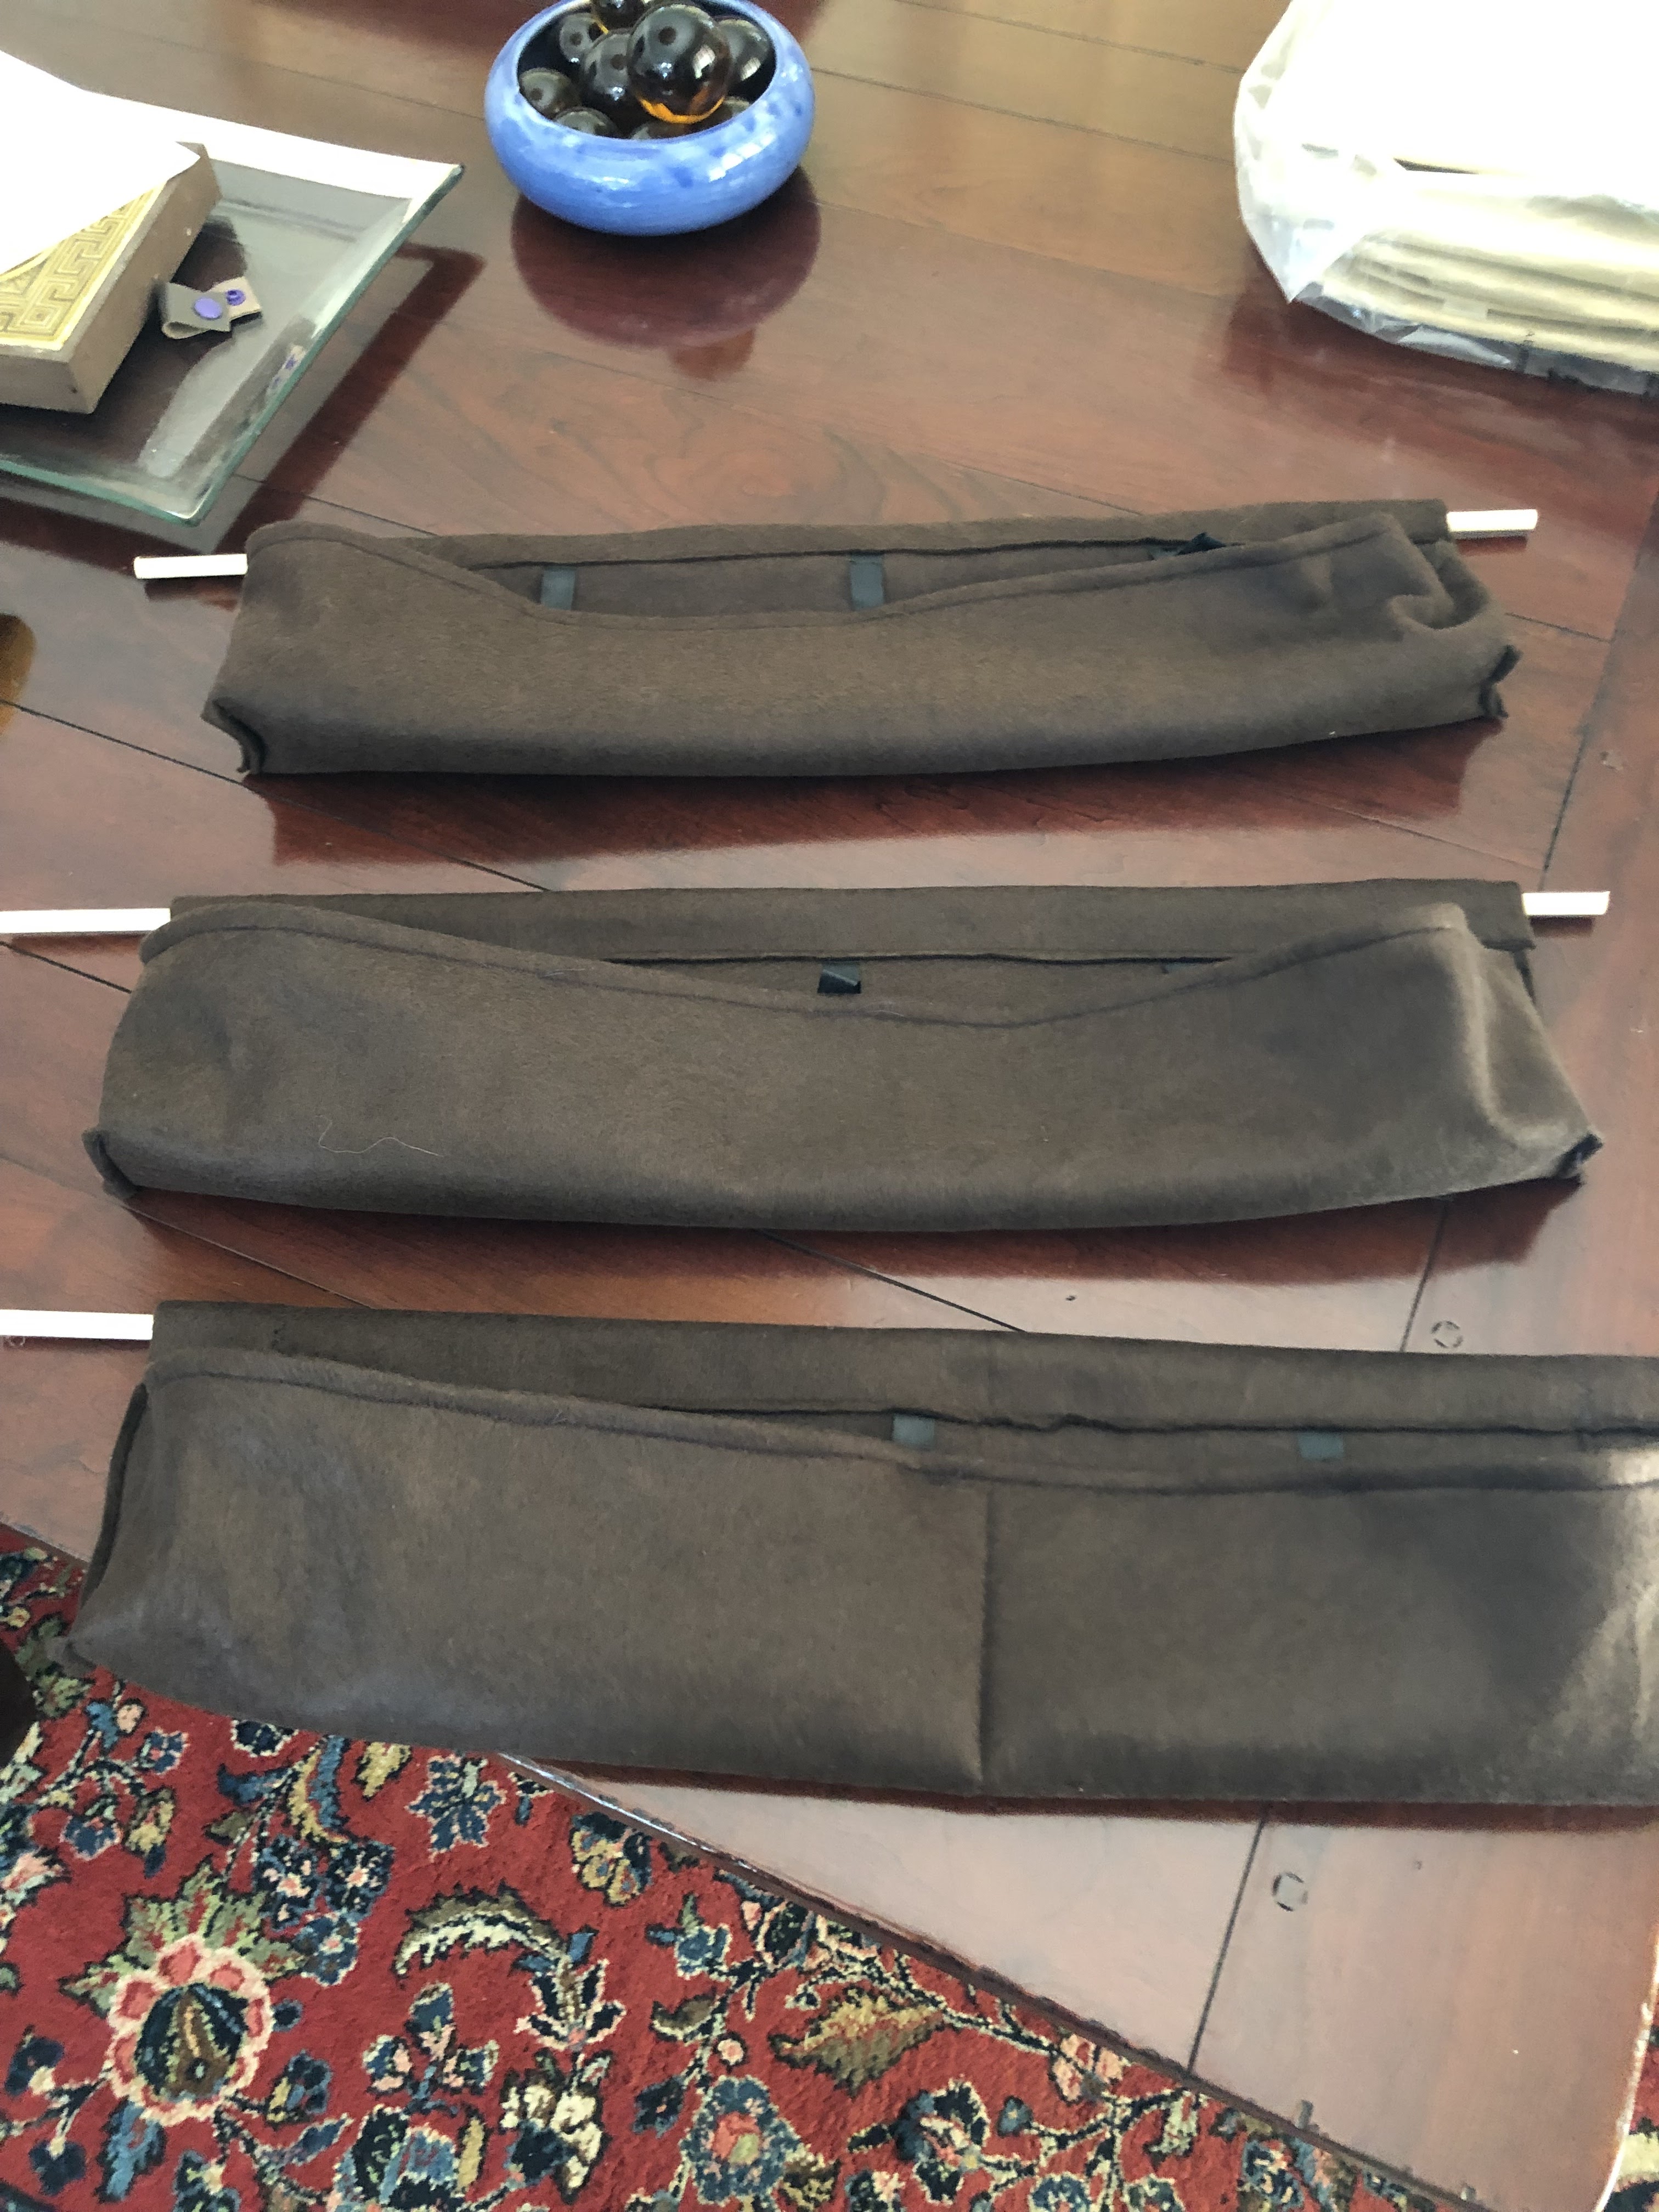
I had some craft felt and dowels at my disposal, so I fudged a pattern and got to work. It's one long pocket, 20 inches long by 4 inches deep. The little stay tapes are to keep the thing from bagging out. It can hold a few inches of lightweight potting soil and a cornucopia of succulent cuttings. Succulents are amazing plants. They're happy with very little soil. In fact, they don't really need any soil at all, so these planters can be pretty lightweight.

Once I ironed out the measurements, I got into a groove and sewed up a quartet pretty quickly.

Here's my prototype planted with a few things snipped from the garden. I have high hopes that my little succulent incubators will thrive.


If you want to see more about how you can hang succulents in all kinds of vertical spaces, check out my succulent sensei, Laura Eubanks. This is her YouTube video that shows you how to set up succulent gutters. They can be absolutely gorgeous...

Thursday, May 12, 2022

Burdastyle Prom Dress

Sometime last month I got an email from an old work friend. Her daughter was prepping for her senior prom and she wanted to have a dress made from some very beautiful silk that her aunt had brought back from Malaysia many years ago. Mom wondered if I might be wiling to give it a shot. I confessed that I had never sewn with silk. Also, I had never sewn a formal dress. Also, I've hardly ever sewn something for someone who isn't me. But I said that if they came by we could take a look at what she wanted and, if we thought I was competent, I'd give it a shot.

They didn't have a pattern picked out, just some photos that Prom Girl had pinned from the internet. I was pretty sure that someplace in my decades of Burdastyle magazines we'd be able to find a few contenders. By now I probably have a pattern for pretty much any style of garment that's been made in the last 40 years. They came by with their silk and their images and, miracle of miracles, we found a pattern that (1) Prom Girl liked, (2) I thought I could execute and, (3) might fit on the 2 yards of 45 inch wide one-of-a-kind silk at our disposal.

This shot is from the final fitting. The hem is just pinned up, but otherwise the dress, she is done. Huzzah! It fit her pretty well, if I do say so myself, and we stayed within our remit: two yards of fabric are left for Big Sister.

Here's the pattern that we used. It's from a Burdastyle special issue from Autumn/Winter, 2013. Slim cut, but not too fitted. Four darts, and a fishtail in the back to give some walking ease. The style was straightforward enough that I figured I could focus all my anxiety on handling the fabric. Did I mention that I'd never sewn silk before?

We put together a muslin to verify that the style was indeed in Prom Girl's wheelhouse. She liked the look, but decided she preferred it strapless. We also ditched the fishtail in favor of a thigh-high slit. As an aside, it's pretty fun to dress someone who looks like a million bucks in an old sheet.

Here's muslin number 2 with the requested changes. We took the top edge in about half an inch at each side seam to preempt any wardrobe malfunctions at the punch bowl.

Then it was time for me to do some serious research on handling tricky fabrics. I watched this video by Lifting Pins and Needles, which was super helpful. Based on her tips, I cut the pattern out in a single layer, keeping pins within the seam allowances, and I hand basted the heck out of everything. I also talked through my sewing plan with the lovely folks on the Bridal and Formalwear Sewing forum on PatternReview.com. Bless them, they gave me the courage to proceed.

This is the cutting layout for the silk. As you can see, things were tight. There were actually four yards of this beautiful and terrifying fabric, but Prom Girl's sister had dibs on two of them. They'd made a pact that each sister got half.

I interlined the dress with some deep red bemberg. I know nothing, but I thought the floaty silk would benefit from some extra structure in the seams. I interfaced with silk organza, which I also used to reinforce the slit and the zip.

To be extra careful that my pieces didn't move around or stretch out, I cut the interlining pieces first. I kept those pinned to the pattern pieces, laid them out on the silk, then pinned and cut out the silk. Then I hand basted the interlining and silk pieces together around the edges before I removed the paper pattern pieces. I've had that "whoa Nellie" experience of getting to the end of a long seam and finding that one layer of a tricky fabric had somehow grown inches longer than its mate. I never want to go there again.

That plan worked a treat. The pieces fit together perfectly. 

I hand picked the zipper, just to be sure things stayed smooth. I really did not want to have to pick out any machine stitches from that delicate silk.

Here's a back view of the finished dress.

And here's that slit in action.

Prom Girl's mom very kindly sent me a photo from the night of. 

All in all, it was a great experience. Prom Girl really liked her dress. Turns out she'd told her Mom that she'd been dreaming of having a prom dress made from this fabric since she was a freshman. Awww. 

I feel like I leveled up my sewing confidence. I wouldn't say I'm in a rush to sew with silk again anytime soon, but I know that I can if I want to. I'd just do my prep and work one stitch at a time.

My pattern review is on PatternReview.com here.

Monday, April 25, 2022

Burdastyle Oversized Linen Shirt

Summer should be here any day now, so I sewed up a breezy linen shirt from the April, 2022 issue of Burdastyle. This is top #118. It's an oversized button-up with a forward yoke.


Here's the line drawing of the front:


And the back:

And here's me posing to show that it sews up pretty much just like you'd expect.

I used a mid-weight linen from the FabricsStore in a color they call Willow. They describe it thusly:

"Pale, hazy tones of dawn swept across Paul Nash's dreamy scenes, suggesting a place where all is hushed and still. The warm, pastel green of WILLOW linen was one of his recurring colors, invoking the cold light of frost-bitten grass, whispery strands of freezing fog or dreamy forms that seem to fade into distant, heavenly skies."


I was expecting it to be a bit more yellow. I can't wear oranges or yellows at all, but sometimes I can get away with a yellow-green. This color is a bit more on the minty side. I was a tad disappointed when I first opened the package, but now that I see it in shirt form I like it just fine. It was easy to work with and I bet it will be comfortable to wear once the weather hots up.

I have two more pieces of linen awaiting me in the fabric closet upstairs. I'm thinking pants #111 from this issue of Burdastyle for the Chocolate and a remake of a Burdastyle jacket pattern from back in 2013 in the Black. Though, as the owner of a Great Pyrenees I have no business wearing a black jacket.

My pattern review is on PatternReview.com here

Saturday, January 22, 2022

Burdastyle Camp(er) Shirt

 This is another camp shirt sewn to amuse a grandchild. In this case I'm aiming at my grandson, who is very into RVs. He and my son are working on his Mom, trying to persuade her that they need to buy a $55,000 camper. This is the same son who, as a child, preferred fancy hotels with room service and hated hiking because he didn't want to get his sneakers dusty. Go figure.

Last time I made a camp shirt I used another Burdastyle pattern, blouse 116A from the April, 2012 issue. I like that one pretty well, but I'd say this pattern has a more traditional fit. It's cut longer and looser, with a pleat in the back to add extra ease.

Here's a closer look at that pleat, and also at the RV print. 

This pattern has a back yoke, but no inner yoke, so the seam between the yoke and back is visible inside. This is the first time I've made a shirt like that and part of me imagined shrinking from the visible seam allowance. But, heck, it's a camp shirt, not a dress shirt, so I made it according to directions. And it isn't bad at all. If you top stitch that baby down it's  just like any other inner seam.

I'm pretty well supplied with camp shirts at the moment, but you never know when a cute print is going to come along. I'm glad to have two patterns traced out that work for me.

I'll pack this top for my upcoming trip to SoCal to see the grandkids. I'm hoping Miles gets a bigger kick out of the RV shirt than Margot did out of the mermaid shirt. 

My pattern review is on PatternReview.com here.