My second FO for 2014 is a
camp shirt from the April 2012 issue of Burdastyle magazine.
 |
| Not really a halo, just some garden art |
I like the shirt, but it does come up short:
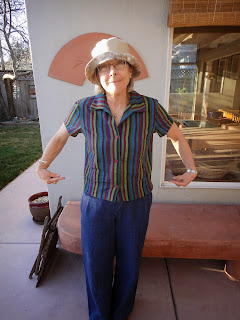 |
| Looks best tucked in, in my opinion |
I had 1.5 yards of Kaffee Fassett cotton in stripes marinating in stash. I really liked the colors, and thought it would make a nice, light-weight shirt. I didn't have enough yardage to want to play around too much with stripe-matching though, so I searched through my Burdastyle library to find a pattern with minimal shaping that I thought I could fit onto this slice of fabric.
I could tell this pattern was going to be pretty short, so I added 3 inches to the recommended length. Once I'd sewed it up it was still a bit shorter than I'd have preferred, so I added a bias facing to the hem so that I could keep all the length I could. If I make it again, which I might, I'll add another two inches at least.
My sewing buddy, Jessica, helped me out by taking some pictures for me. She not only did the photography, she provided adorable prop dogs:
 |
| Noche |
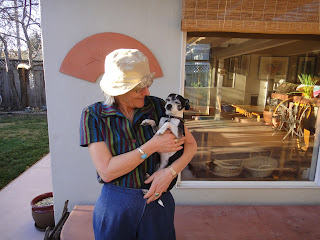 |
| Mini |
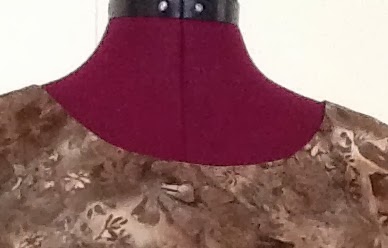
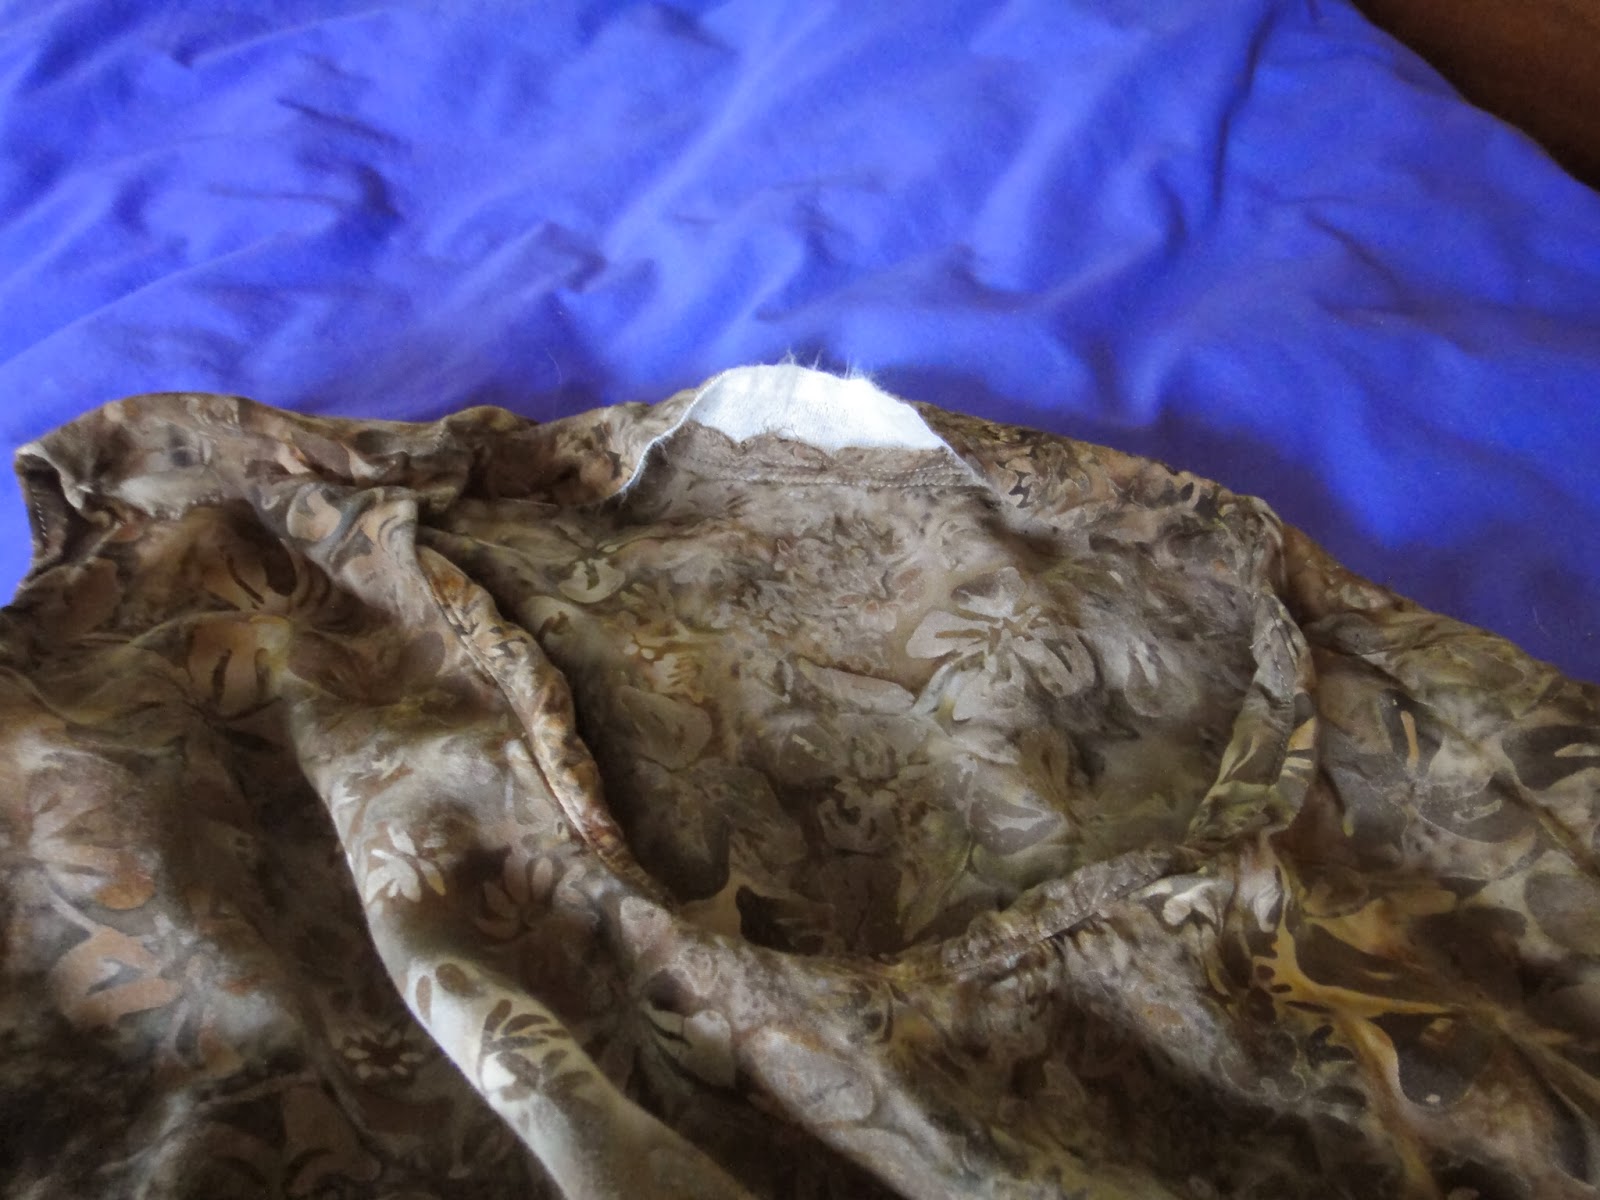
The pattern was nicely drafted and pretty easy to put together. My only issue (besides the length) was the finish on the collar. I suspect I got turned around in the directions - Burdastyle can be a bit cryptic. The pattern has cut-on front facings, but I can't for the life of me figure out what they wanted me to do with the back collar. I ended up adding a bias strip to cover the seaming. I think it worked out OK, but I feel like I missed the boat on this one.
 |
| Impromptu bias strip to finish back collar |
I've been sewing more and more from Burdastyle lately. I'm a magazine junkie. Once I've invested in the latest issue I figure I should try out as many patterns as I think I can manage. Just in case it might be helpful, here are my tips for working with Burdastyle.
Have you ever eyeballed the
pattern sheets in the Burdastyle magazines? Look like the architectural renderings for a nuclear power plant, right? There is a method to the madness though. My first tip is to take a look at the great series on using Burdastyle patterns that
the Curious Kiwi put together. I so wish I'd known about these tutorials when I was first messing around with Burdastyle.
My second tip is to use exam table paper for your tracing. You can order it by the roll over the internet for not too much money. It's transparent enough to be easy to use for tracing, but has more tensile strength than tissue paper.
My third tip is to use a high lighter pen on the pattern sheet to outline the pieces you want to use. If you take your eyes off that pattern sheet for even one moment, say to pick up your pencil or take a sip of your refreshing beverage, you will lose focus and be unable to identify your target. Highlighting the pattern pieces doesn't entirely fix that problem, but I find it helps a lot. I figure if I want to use a new set of pieces on that same pattern sheet, I can just use another color of high lighter pen to help me hone in on them.
My final tip is to invest in the seam allowance curve of your choice from
SA Curve via Etsy. Oh. My. God. This tool changed my life. My seam allowance curves make it child's play to add a 5/8 inch seam allowance to Burda patterns. Or to add stitching lines to other patterns, if you want to go the other direction. I got the two curves below as a Christmas present to myself. The proprietor, Claire Tharp, was so helpful when I was placing my order, and even in the midst of the holiday shipping madness, I had my new toys in my hands within a week.
 |
| My very favorite new sewing notion |
My full review is on PatternReview.com
here.