Sometime last month I got an email from an old work friend. Her daughter was prepping for her senior prom and she wanted to have a dress made from some very beautiful silk that her aunt had brought back from Malaysia many years ago. Mom wondered if I might be wiling to give it a shot. I confessed that I had never sewn with silk. Also, I had never sewn a formal dress. Also, I've hardly ever sewn something for someone who isn't me. But I said that if they came by we could take a look at what she wanted and, if we thought I was competent, I'd give it a shot.
They didn't have a pattern picked out, just some photos that Prom Girl had pinned from the internet. I was pretty sure that someplace in my decades of Burdastyle magazines we'd be able to find a few contenders. By now I probably have a pattern for pretty much any style of garment that's been made in the last 40 years. They came by with their silk and their images and, miracle of miracles, we found a pattern that (1) Prom Girl liked, (2) I thought I could execute and, (3) might fit on the 2 yards of 45 inch wide one-of-a-kind silk at our disposal.
This shot is from the final fitting. The hem is just pinned up, but otherwise the dress, she is done. Huzzah! It fit her pretty well, if I do say so myself, and we stayed within our remit: two yards of fabric are left for Big Sister.
Here's the pattern that we used. It's from a Burdastyle special issue from Autumn/Winter, 2013. Slim cut, but not too fitted. Four darts, and a fishtail in the back to give some walking ease. The style was straightforward enough that I figured I could focus all my anxiety on handling the fabric. Did I mention that I'd never sewn silk before?
We put together a muslin to verify that the style was indeed in Prom Girl's wheelhouse. She liked the look, but decided she preferred it strapless. We also ditched the fishtail in favor of a thigh-high slit. As an aside, it's pretty fun to dress someone who looks like a million bucks in an old sheet.
Here's muslin number 2 with the requested changes. We took the top edge in about half an inch at each side seam to preempt any wardrobe malfunctions at the punch bowl.
Then it was time for me to do some serious research on handling tricky fabrics. I watched this video by Lifting Pins and Needles, which was super helpful. Based on her tips, I cut the pattern out in a single layer, keeping pins within the seam allowances, and I hand basted the heck out of everything. I also talked through my sewing plan with the lovely folks on the Bridal and Formalwear Sewing forum on PatternReview.com. Bless them, they gave me the courage to proceed.
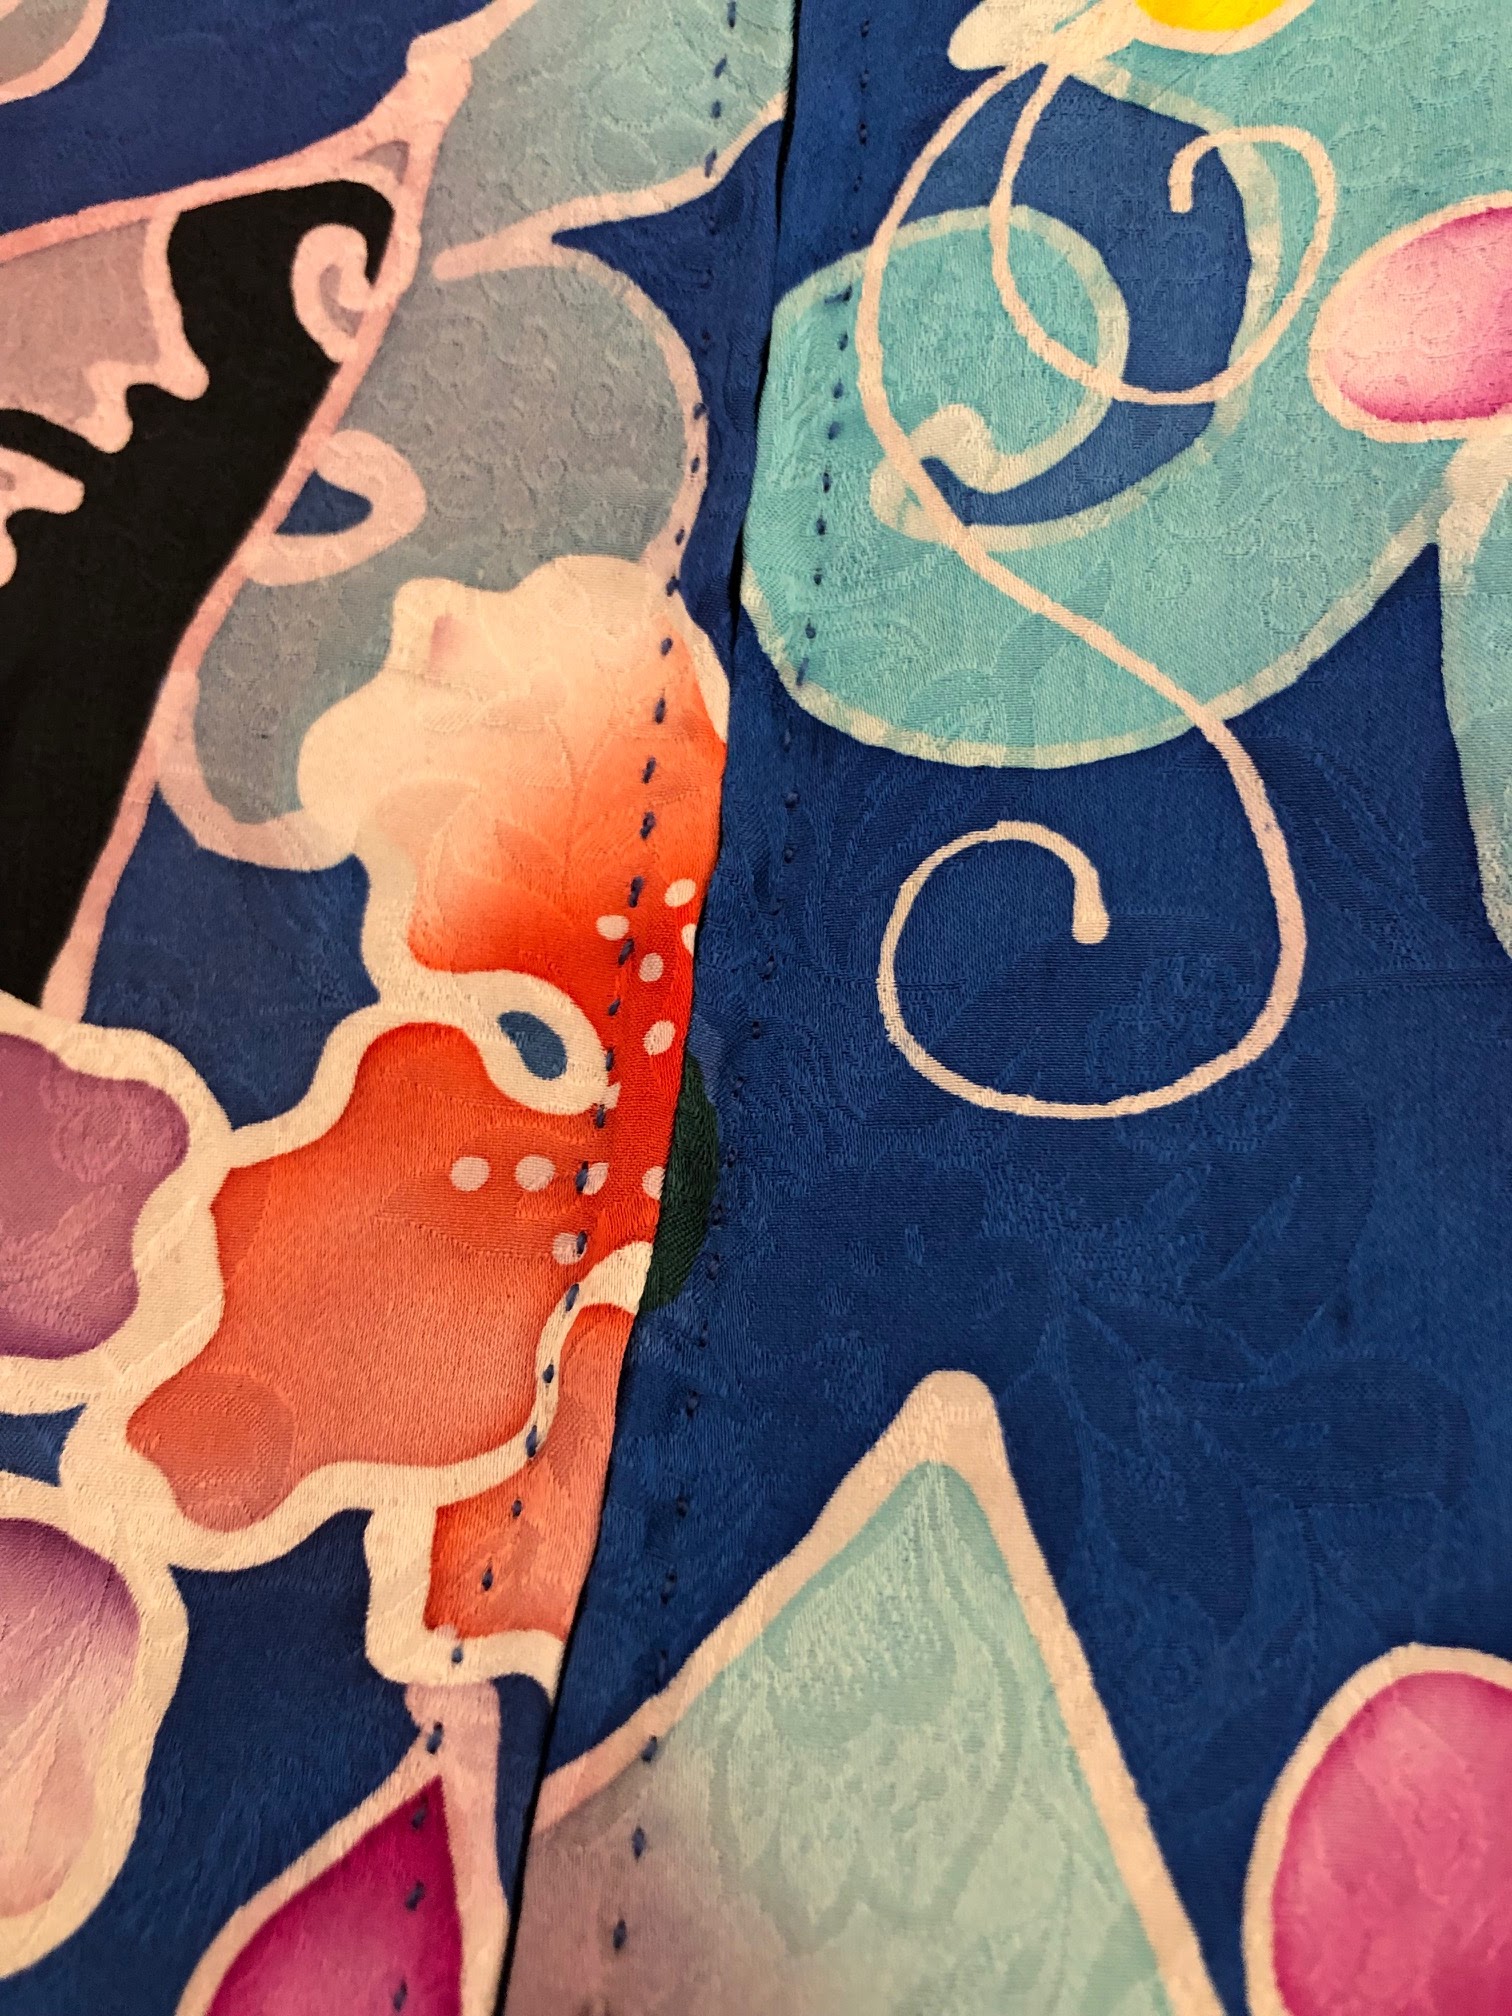
This is the cutting layout for the silk. As you can see, things were tight. There were actually four yards of this beautiful and terrifying fabric, but Prom Girl's sister had dibs on two of them. They'd made a pact that each sister got half.
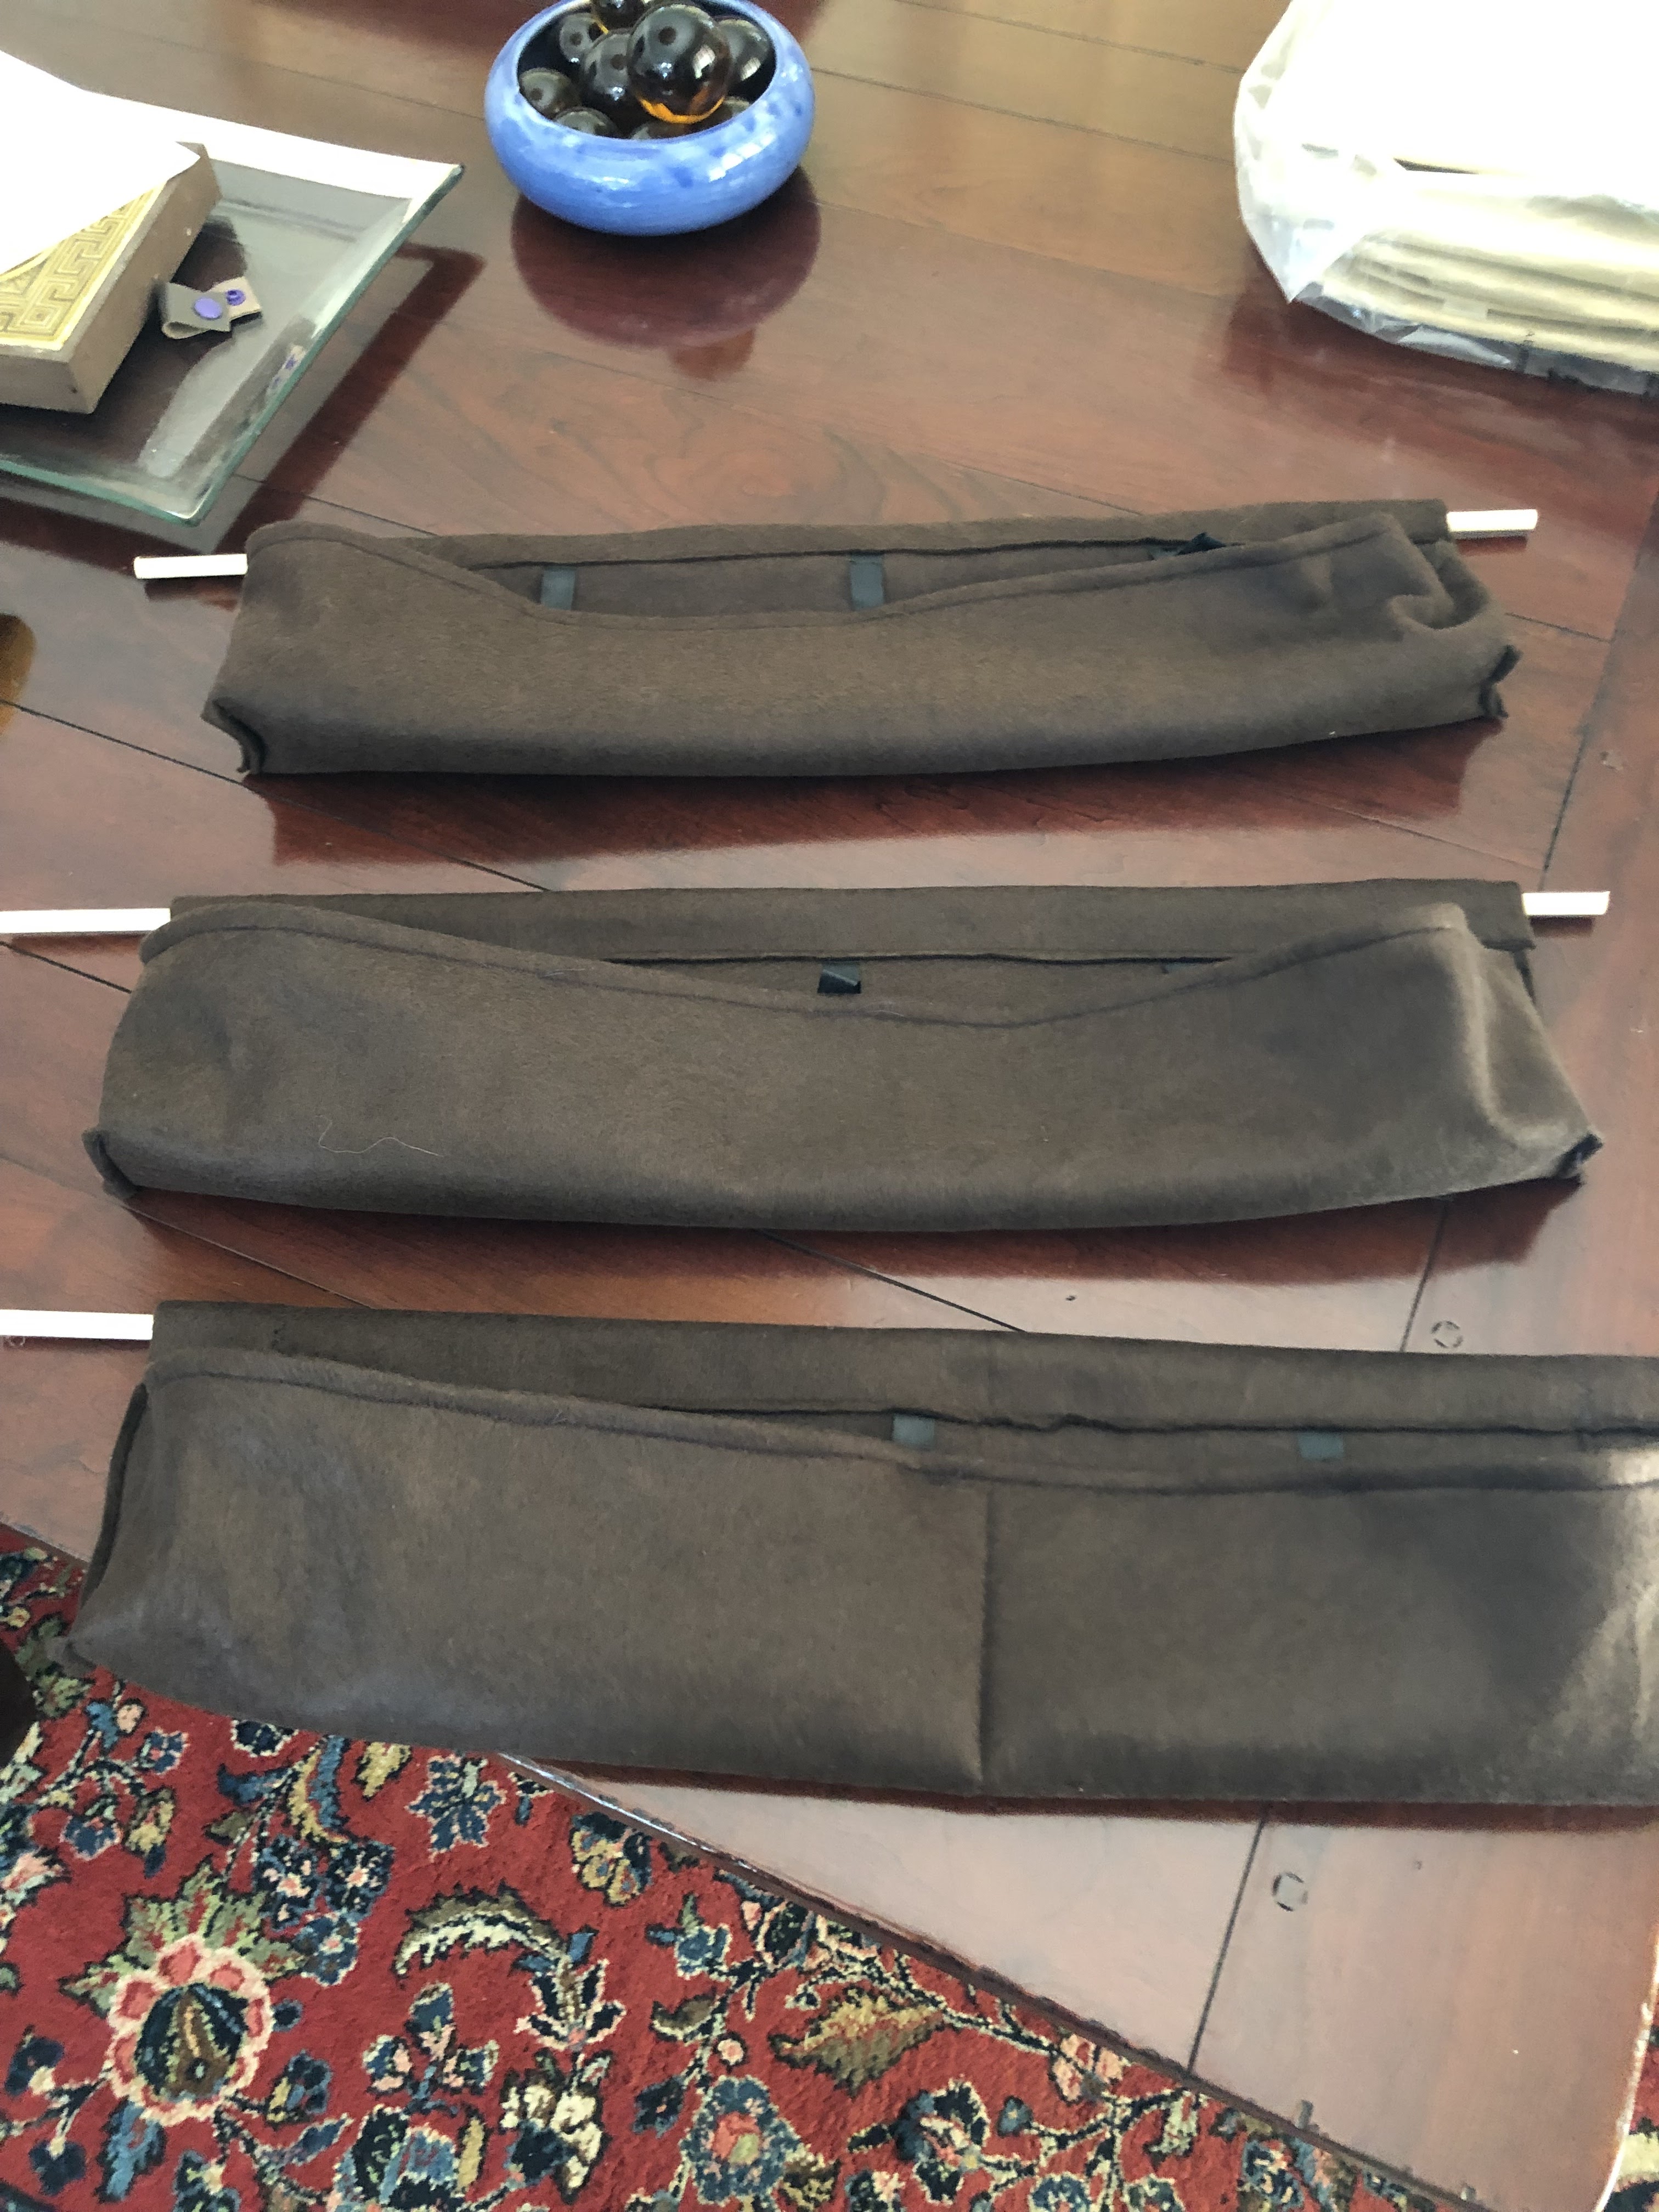
I interlined the dress with some deep red bemberg. I know nothing, but I thought the floaty silk would benefit from some extra structure in the seams. I interfaced with silk organza, which I also used to reinforce the slit and the zip.
To be extra careful that my pieces didn't move around or stretch out, I cut the interlining pieces first. I kept those pinned to the pattern pieces, laid them out on the silk, then pinned and cut out the silk. Then I hand basted the interlining and silk pieces together around the edges before I removed the paper pattern pieces. I've had that "whoa Nellie" experience of getting to the end of a long seam and finding that one layer of a tricky fabric had somehow grown inches longer than its mate. I never want to go there again.
That plan worked a treat. The pieces fit together perfectly.
I hand picked the zipper, just to be sure things stayed smooth. I really did not want to have to pick out any machine stitches from that delicate silk.
Here's a back view of the finished dress.
And here's that slit in action.
Prom Girl's mom very kindly sent me a photo from the night of.
All in all, it was a great experience. Prom Girl really liked her dress. Turns out she'd told her Mom that she'd been dreaming of having a prom dress made from this fabric since she was a freshman. Awww.
I feel like I leveled up my sewing confidence. I wouldn't say I'm in a rush to sew with silk again anytime soon, but I know that I can if I want to. I'd just do my prep and work one stitch at a time.
My pattern review is on PatternReview.com here.